
English
Drying Kit Manual
Cautions
Please read the following information carefully before using. Failure to observe these safety instructions may result in serious injury and will release VIVOSUN of all liability and void product warranties.
-
Before commencing the installation, operation, and maintenance of this product kit, we strongly urge you to thoroughly read and adhere to the instructions provided in this manual, as well as the manuals for each device in this kit.
-
Make sure your AC power source conforms to the electrical requirements of each device of this product kit.
-
Ensure that you verify and adhere to any local laws and regulations governing the installation and operation of this product, as they may stipulate additional safety requirements.
-
DO NOT use the devices in this kit in outdoor areas or within hazardous locations, such as those in proximity to flammable, explosive, or corrosive chemicals, or in wet environments.
-
DO NOT put fingers or other objects into fans.
-
DO NOT cover the inlet or outlet of the fans. DO NOT cover the power cords with rugs or other materials.
-
Before installation, maintenance, or relocation, be sure to power off and unplug the devices.
-
If your device or power cord is damaged, stop using the device and contact us immediately for service. Disassembly or modifications of devices without VIVOSUN’s permission may cause damage and may void the warranty.
-
DO NOT dispose of this product with your regular trash. Electrical appliances contain hazardous materials that can harm the environment if not disposed of properly.
-
Please contact your local government for information on nearby drop-off centers or recycling programs that accept electronic waste.
Product Contents
Box A |
|
Grow Tent S425 x1 |
Box B |
|
GrowHub A22 Controller ×1 |
|
Temperature and Humidity Sensor ×1 |
|
Box C |
|
AeroZesh G4 Inline Fan x1 |
Hanging Straps x2 |
||
Box D |
|
4" Carbon Filter 4'' x1 |
|
4" Prefilter ×1 |
|
|
Rope Hangers x2 |
|
Box E |
|
Ducting 4'' |
Clamps 4" x2 |
||
Box F |
|
AeroWave A6 Clip Fan |
Box G |
|
Drying Rack x1 |
Pruning Shears x1 |
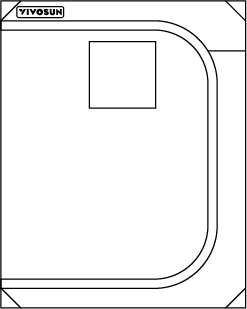
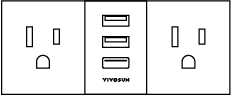
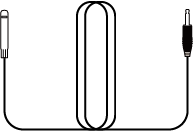
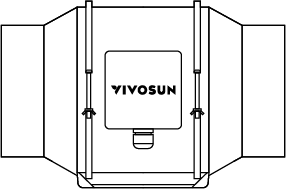
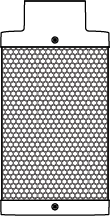
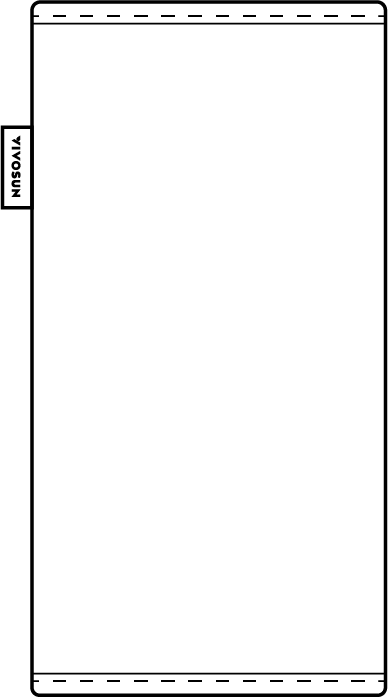
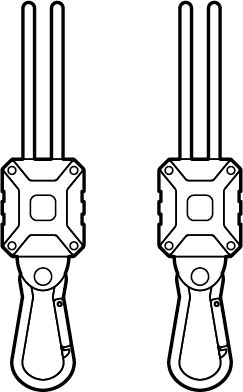
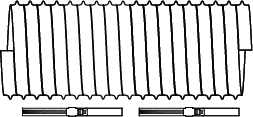
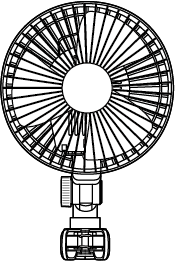
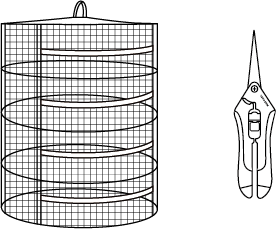
Before installation, check that all components are present and undamaged.
Quick Set up Guide
Step 1 Set Up the Grow Tent
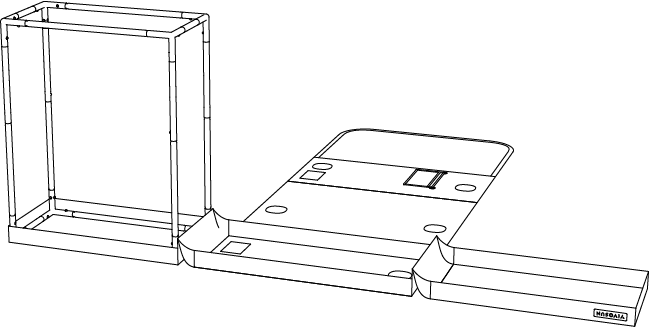
Set up your Grow Tent (BOX A) by following the instructions in the Grow Tent manual, and place the tent on a flat, dry indoor surface.
For complete installation and safety instructions, refer to the Grow Tent Standard Series Manual(VST-GTS425).
Step 2 Install the Duct Fan
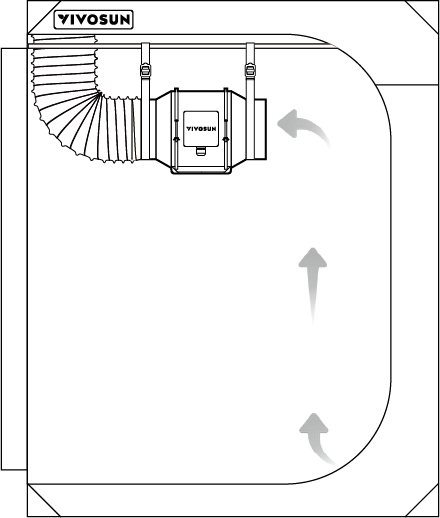
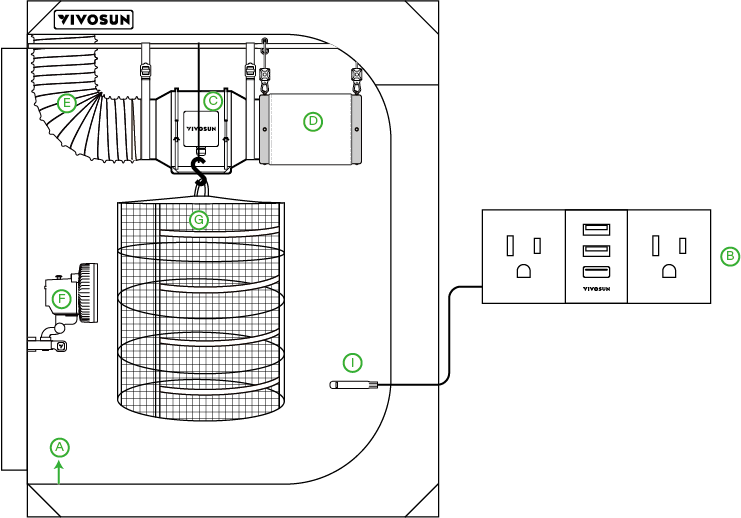
Install the AeroZesh G4 Inline Fan (BOX C) at the upper part of the tent. Use the hanging straps supplied in BOX C to secure the fan to a ceiling bar.
-
Check the airflow arrow on the fan housing before securing the fan.
-
For exhaust installation, point the airflow arrow toward the ducting outlet and outside of the tent.
-
Make sure the fan is firmly supported and does not rest against the tent wall.
-
Leave enough room around both ends of the fan for the carbon filter and ducting connections.
For complete installation and safety instructions, refer to the Duct Fan AeroZesh G Manual.
Step 3 Install the Carbon Filter and Ducting
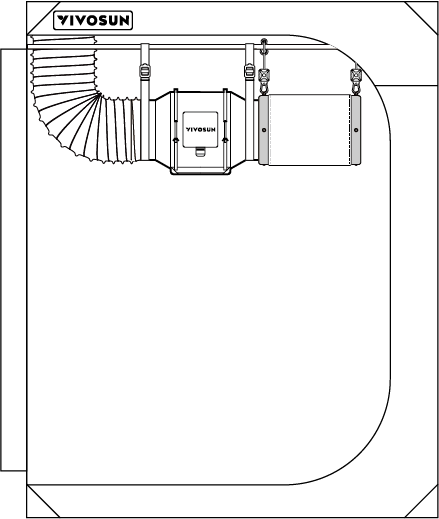
Fit the prefilter over the Carbon Filter (BOX D). Use the rope hangers supplied in BOX D to secure the filter to a ceiling bar.
Connect the carbon filter to the inlet side of the Duct Fan. Connect the ducting (BOX E) to the outlet side of the fan, route the ducting through the upper ducting opening, and tighten both connections with the supplied clamps.
-
Support the carbon filter independently; do not allow the fan or ducting to carry its own weight.
-
Keep the ducting as short and straight as practical.
-
Avoid crushing, sharply bending, or blocking the ducting.
-
Tighten the tent ducting sleeve around the ducting after the connection is complete.
For complete installation and safety instructions, refer to the Carbon Filter Manual.
Step 4 Hang the Drying Rack
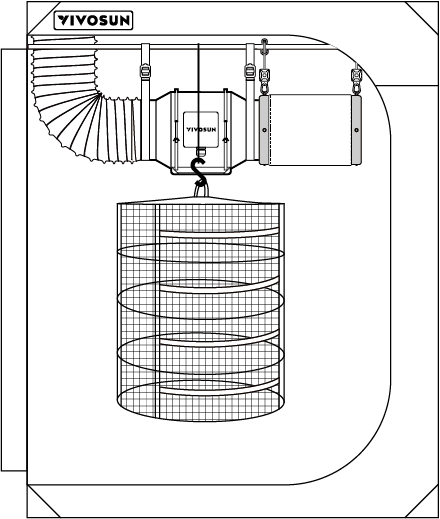
Secure the tent’s hanging strap to a ceiling bar, then connect the metal S-hook on the Drying Rack (BOX G) to the strap. Adjust the strap length so the rack hangs near the center of the tent with sufficient clearance from the duct fan and carbon filter above. Fully unfold the rack and confirm that it is secure and stable before loading.
Step 5 Position the AeroWave A6 Clip Fan
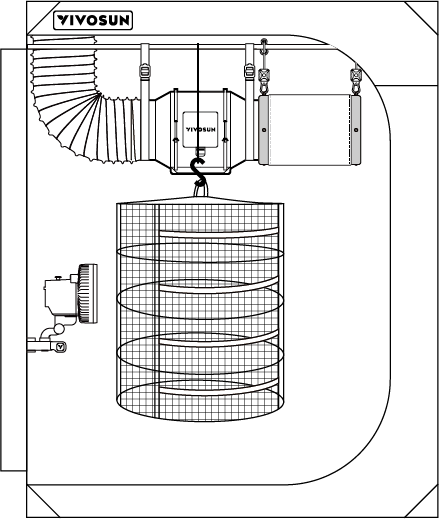
Attach the AeroWave A6 Clip Fan (BOX F) to a side pole of the tent. Aim the fan toward the tent wall, the side of the drying rack, or an open area around the rack.
-
Do not position the fan for continuous close-range airflow directly onto the drying material.
-
Adjust the fan head by hand and confirm that it cannot contact the tent wall, drying rack, filter, or cables.
-
Route and secure the power cord along the tent frame.
For complete installation and safety instructions, refer to the AeroWave A6 Manual.
Step 6 Install and Pair the GrowHub A22
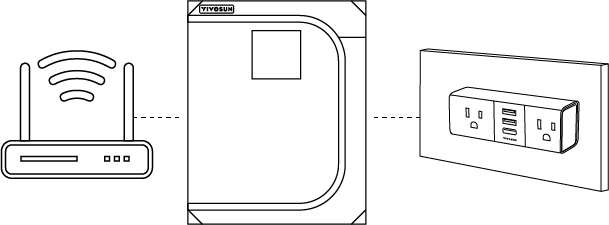
Plug the GrowHub A22 (BOX B) into a grounded electrical outlet, outside the grow tent.
-
Keep the A22, plugs, outlets, and other electrical connections in a dry, well-ventilated location.
-
Install the A22 within reliable range of the Wi-Fi router and minimize obstructions such as walls and doors.
-
Ensure that the A22 is accessible for operation and inspection.
-
Do not cover the A22 or place it on the floor.
-
Do not connect devices that exceed the electrical rating of the A22.
For detailed pairing and operating instructions, refer to the GrowHub A22 Manual.
Step 7 Connect the Devices and Position the Sensor
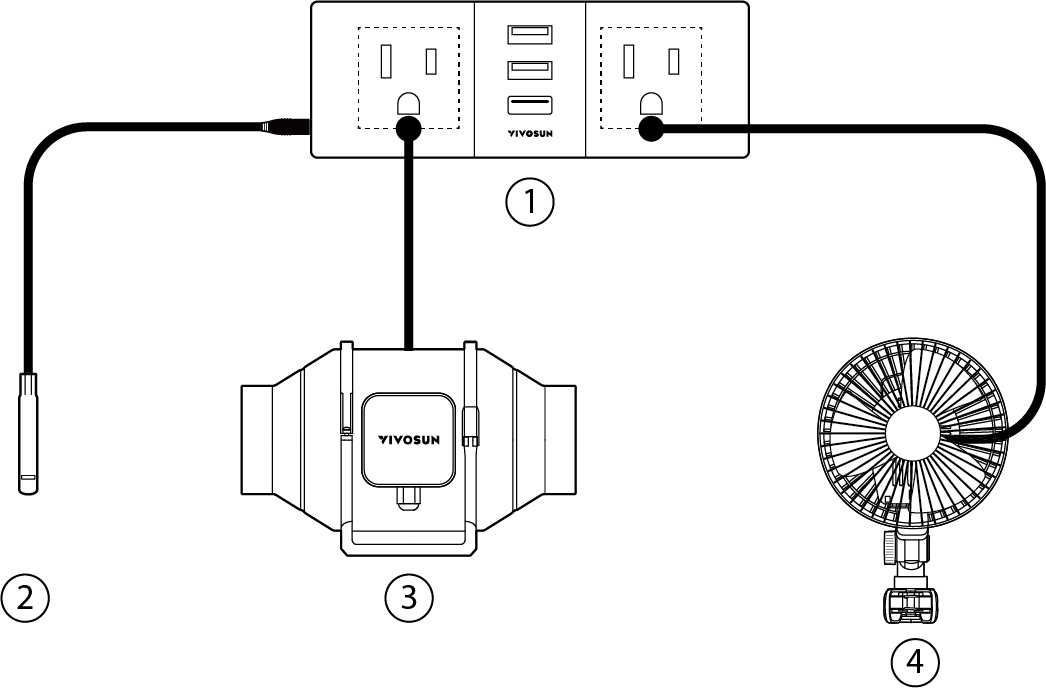
① |
A22 |
② |
Temperature and Humidity Sensor |
③ |
Duct Fan |
④ |
Fan |
With the connected devices switched off, plug the AeroZesh G4 Inline Fan and AeroWave A6 Clip Fan into the A22 outlets. Connect the Temperature and Humidity Sensor securely to the sensor interface on the A22.
-
Route the sensor cable into the tent through a cable opening without pinching, sharply bending, or stretching it.
-
Position the probe near the middle height of the drying rack and close to, but not touching, the drying material.
-
Keep the probe away from direct airflow from the AeroWave A6 Clip Fan, the AeroZesh G4 air inlet, the lower air intake, the tent wall, and the floor.
-
Confirm that every plug and sensor connection is fully inserted before supplying power.
For detailed pairing and operating instructions, refer to the GrowHub A22 Manual.
Drying Guidelines
Before starting the drying process:
-
Make sure the tent, drying rack, pruning shears, and all contact surfaces are clean and dry.
-
Inspect the material before loading. Keep any material with visible mold, unusual discoloration, or an uncertain condition separate.
-
Use clean pruning shears to remove large fan leaves and unnecessary plant material as required.
-
Spread the material evenly across the rack, preferably in a single layer.
-
Leave sufficient space between pieces for air circulation. Do not pile or compress the material.
-
Keep the material away from the tent wall, sensor probe, electrical cables, and circulation fan.
-
Check the positions of the AeroWave A6 Clip Fan and sensor probe after loading. Make sure the fan does not blow continuously at close range directly onto the material.
-
Close unused ducting and cable openings, while keeping the selected lower intake opening available.
-
Close the tent door and fully close the zippers.
-
Open the VIVOSUN App, start the Drying mode, and confirm that the connected devices and environmental readings are displayed correctly.
For slow drying, 64–70°F (18–21°C) and 50–55% RH may be used as a general starting reference. Actual conditions should be adjusted according to the material, loading density, room environment, and observed drying progress.
During initial use, check the environment and material frequently. Once conditions become stable, use the App for routine monitoring and avoid opening the tent unnecessarily.
Warranty
Warranty coverage and duration vary by product. Please refer to the warranty information in each individual product manual. For the full Warranty Policy, please visit: https://www.vivosun.com/help/warranty-policy.
Alternatively, you may contact customer service at support@vivosun.com / +1 888-505-8486.
Contents

We help you grow your best green.

We provide the highest quality.

We relentlessly pursue the future.

We make growing more enjoyable.

We support every grower.
Sign up and get 8% off your first order
©2026 Vivosun All Rights Reserved