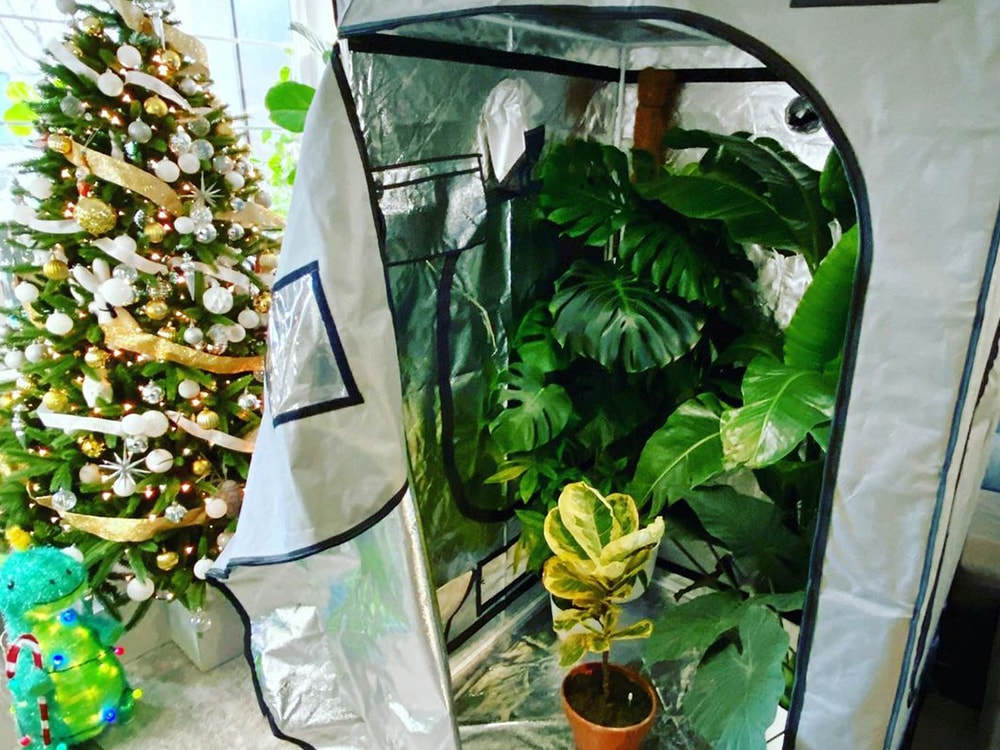
Think about taking a walk in the park or hiking a mountain: all of the plants around you will be moving in the wind. This is a kind of natural ventilation. However, in an indoor gardening room or tent, we need to recreate natural conditions that won’t be possible without the right equipment and planning. We've talked a lot about LED grow lights but we also want to cover the specifics of ventilation in a grow tent.
The role of fans in ventilation
Maintaining proper temperature
Using grow lights can create a lot of heat in a small space like a grow tent (although LEDs create less heat than HPS or MH bulbs!). Sometimes, the inside of a tent can reach above 80 degrees, which can be very harmful to your plants. Further, lights produce both convective and radiant heat so you may find that your tents get a lot hotter than you planned—this is why we also recommend picking up a thermometer when growing in a tent.
Controlling humidity
Plants are constantly emitting water vapor along with Oxygen and CO2 as byproducts of photosynthesis. Since you are growing in an enclosed space with stagnant air, the built-up moisture can attract pests and encourage mold. Good ventilation can effectively reduce the humidity inside the tent, and a high CFM fan helps control it.
Providing fresh air
This might be the most important role of a fan! Plants need a lot of carbon dioxide-containing air for photosynthesis, but a confined space obviously adds any extra CO2, so fans solve this problem by bringing in outside air and forcing old air out of the tent.
OK! Now we know why a fan is important for your tent, but how often should we run it? There are a couple of things to consider.
The amount of ventilation
Different sizes of grow tents require different amounts of ventilation. Divide the tent's volume by 3 to get the desired CFM (cubic feet per minute). If you own a grow tent about 720 cubic feet in size, you need a fan with 240 CFM.
In general, growers estimate the following equipment to add higher CFM requirements to your fan:
Ducting: For each 90° bend in your ducting your CFM requirement will increase by about 40-60%, so try to minimize the number of bends in your ducting.
Carbon Filter: A carbon filter will increase your CFM requirement by about 60%.
Grow Lights: Due to heat output, your CFM requirement will increase by about 50% for LEDs.
Now, with all of this information, we can measure the approximate CFM required for our fan. The equation will be:
(cubic feet of space) x (ducting) x (carbon filter) x (grow lights) = CFM required.
107 x 1.6 x 1.6 x 1.5 = 410CFM
| VIVOSUN Grow Tent size | Recommend Duct Fan |
|---|---|
| 2x2 Grow Tent | AeroZesh T4 Inline Fan 4 |
| 2.7x2.7 Grow Tent | AeroZesh S4 Inline Fan 4 |
| 2x3 Grow Tent | AeroZesh G4 Inline Fan 4 |
| 3x3 Grow Tent | AeroZesh G4 Inline Fan 4 |
| 2x4 Grow Tent | AeroZesh T4 Inline Fan 4 |
| 4x4 Grow Tent | AeroZesh T6 Inline Fan 6 |
| 3x4 Grow Tent | AeroZesh T6 Inline Fan 6 |
| 2x5 Grow Tent | AeroZesh G6 Inline Fan 6 |
| 5x5 Grow Tent | AeroZesh T6 Inline Fan 6 |
| 8x8 Grow Tent | R8 Inline Fan 8 |
| 5x10 Grow Tent | R8 Inline Fan 8 |
Light/Dark hours
****Once the light is on, the best practice is to have your fan running. Luckily, most fans come with some kind of speed controller so you can adjust the CFM according to your needs—how hot your tent is, how much airflow your tent has naturally if you’re using oscillating fans (we’d recommend using them at max speed), and how humid your tent is.
During the night cycle when your light is off, the temperature inside your tent will gradually decrease as the light is no longer producing heat. Yet, you’ll still need your fan to run for a while to help circulate air. If you are using an inline fan, we recommend you begin to reduce the speed of your fan 20 minutes after you have turned off your lights, and, over the next few hours, continue to reduce the fan speed until after about 3 hours, you can turn it off entirely.
For oscillating fans, we recommend that you slow the fan speed down during the night cycle, but keep it on overnight.
Running your fan during different plant growth stages
Seeding stage
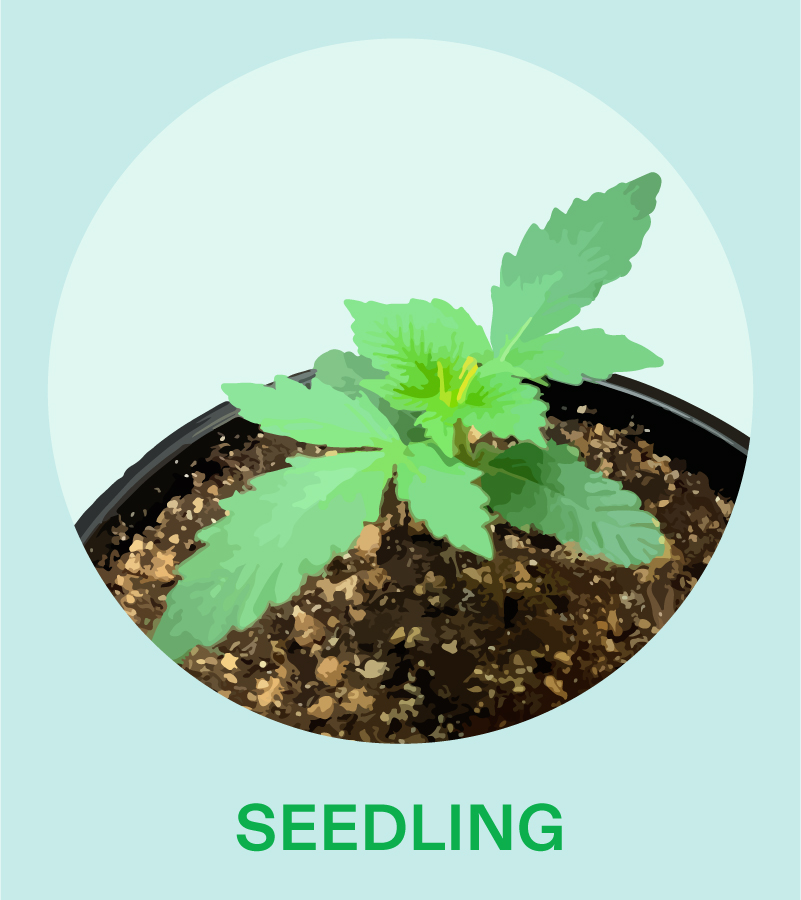 When plants are in their seedling stage, they tend to be fragile.
At this time, we recommend you run your fan 24/7 to maintain temperature, humidity, and fresh air inside the tent. In addition to an inline fan, we also recommend having a gentle oscillating fan in your tent. Do not point the fan directly at the seedlings, they are fragile!
The goal during the seedling stage is to have a very gentle breeze while keeping the air humid enough for your seedlings. If you are doing it right, your seedlings should not really need to be watered, just misted, and you can provide them with a gentle breeze during this early period.
Vegetative stage
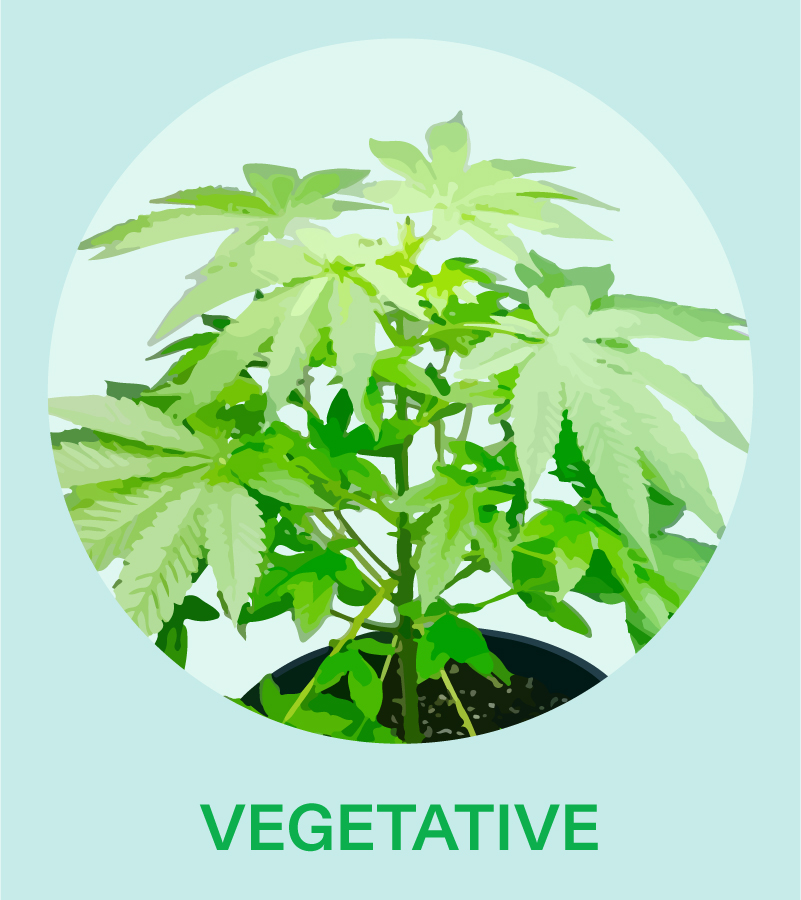 At this point in your plants’ growth, they should be strong enough to withstand proper, heavy airflow—this encourages stronger, more resilient plants! Keep your inline fan speed on max so that airflow passes through your plants’ canopies. During the night cycle, try the slow-down technique we outlined in the Light/Dark hours section. During this stage, we still recommend using an oscillating fan.
Flowering stage
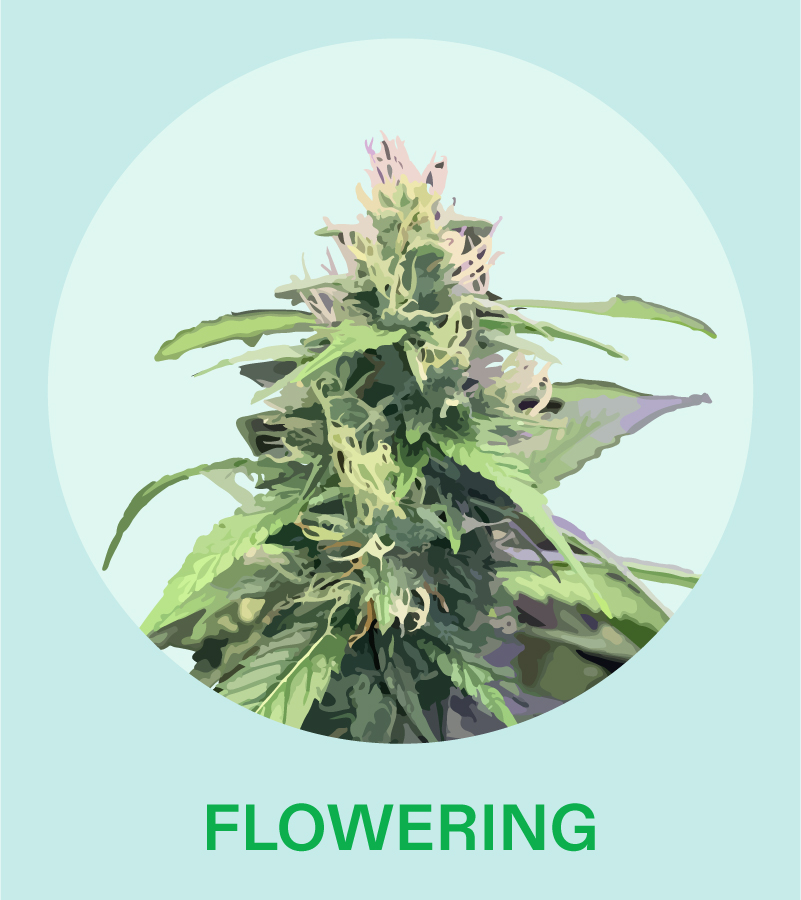 The final stage of growth is a little different than the vegetative stage. We recommend you run your inline fan all the time during the day, and turn it off an hour dark after you turn off the lights. This will allow your plants to bloom undisturbed.
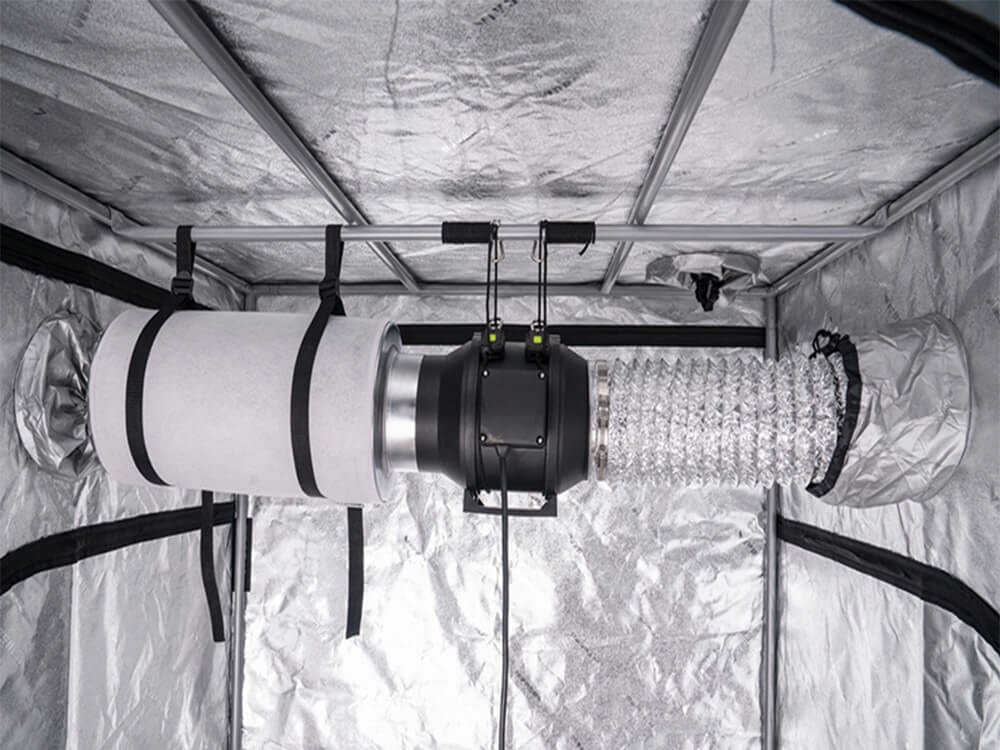
8 Steps to set up your ventilation system
Setting up the exhaust ducting from the inline fan to the carbon filter is a crucial step in configuring your grow tent's ventilation system. There are several ways you can connect these components, and the optimal setup will depend on factors like how your grow lights are hung and whether you are using a reflector-based lighting system or not.
When your ventilation components and tent are physically in front of you, the setup and configuration process will make more sense. Don't worry if it seems confusing at first.
For growers using LED, CMH, or fluorescent lighting without reflectors, the setup couldn't be easier. Since there is no reflector to work around, you can simply connect the ducting directly from the inline fan's exhaust port to the carbon filter.
However, if you are using an air-cooled hood or reflector setup, the exhaust configuration will involve a couple more steps to properly integrate the ducting. Lets go through the different scenarios:
Step 1: Determine Exhaust Fan Size
- Calculate the cubic feet of your grow tent (Length x Width x Height)
- For tents under 100 cubic feet, get a 4-6 inch inline exhaust fan rated for at least 200 CFM
- For larger tents, you'll need a 6-8 inch fan rated 400-800 CFM
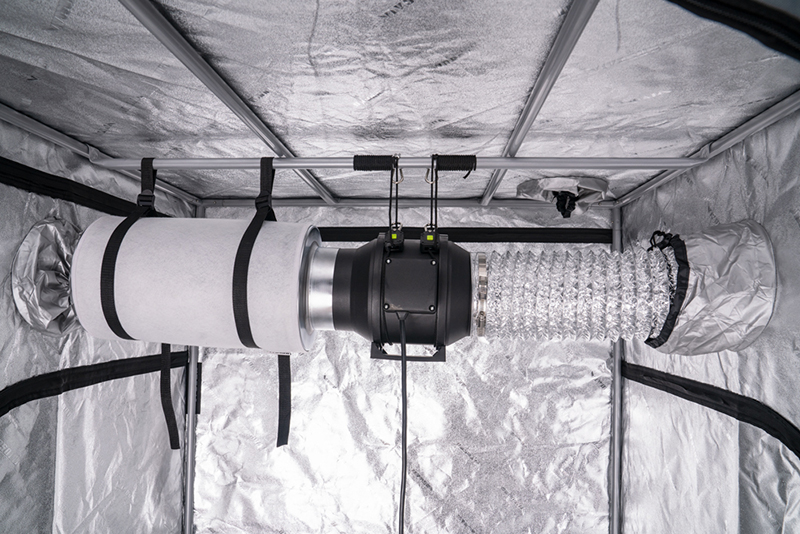
Step 2: Set Up Exhaust System
- Mount the exhaust fan at the top of one end of the tent
- Attach ducting to the fan outlet and run it outside the grow area
- Add a carbon filter to the ducting to remove odors
Step 3: Configure Air Inlet
- Cut or create inlet holes at the bottom of the opposite end of the tent
- An inlet fan pushing air in can be added for better air exchange
- The inlet fan should be same size or 1 inch smaller than exhaust
Step 4: Minimize Light Leaks
- Use ducting hangers and caulk any cracks around fans/ducts
- Install light-proof mesh/flaps over inlet holes
Step 5: Add Temperature/Humidity Monitors
- Install accurate thermometers/hygrometers to monitor tent conditions
- Ideal temps are 70-85°F, humidity 50-70% for most plants
Step 6: Use Speed Controllers
- Invest in adjustable speed controllers for inlet/exhaust fans
- This allows you to precisely dial in the air exchange rate
- Higher speeds when lights are on, lower when off
Step 7: Seal the Grow Tent
- Make sure the tent canvas is zipped/velcroed shut
- This ensures all air is exchanged through the ventilation system
Step 8: Test and Adjust
- Allow system to run for a few hours and monitor readings
- Adjust fan speeds, add ducting as needed to achieve optimal conditions
Wrap-Up
In short, ventilation and air circulation are crucial to improving the health of your plants. Your ventilation cycle can vary by plant, but we hope this guide can save you a bit of time when first starting out.
As always if you have any questions you can message our Instagram or Facebook and we’ll be glad to help you out! We’re happy you’re on this journey and we want to help in any way we can.