


English
FlexFeed DWC Hydroponics Grow Kit Manual
Model Name
-
VSI-FFDWC15-2
-
VSI-FFDWC15-4
Product Contents
VSI-FFDWC15-2
| Image | Name | Quantity |
|---|---|---|
|
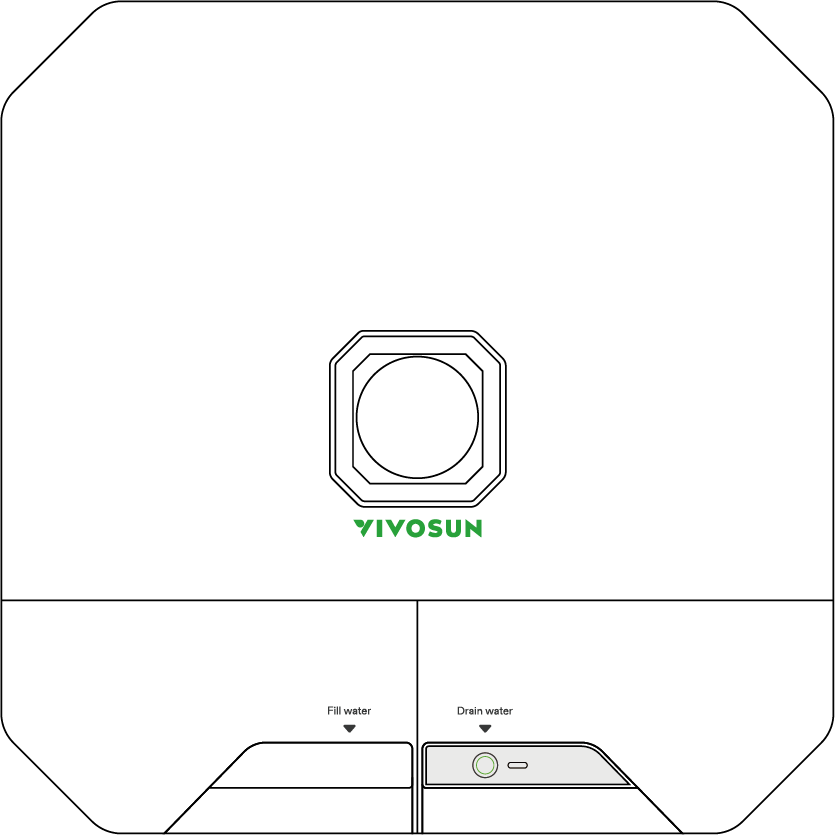
DWC Hydroponic Bucket |
2 pcs |
|
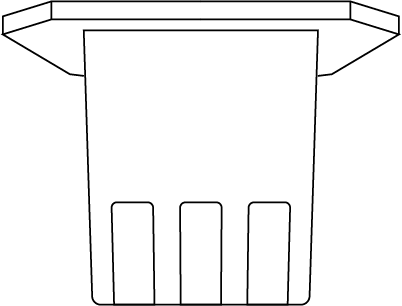
Seedling Planting Basket |
2 pcs |
|
Planting Basket |
4 pcs |
|
Air Stone |
4 pcs |
|
Rapid Rooter |
4 pcs |
|
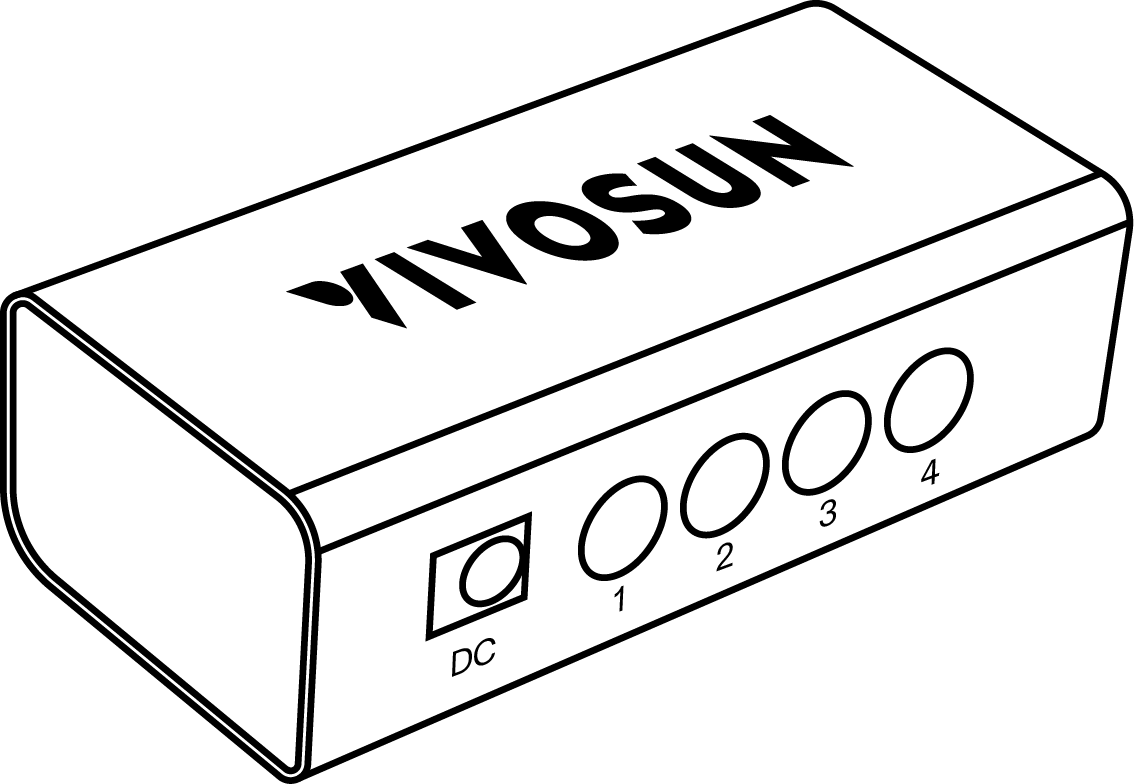
Controller |
1 pc |
|
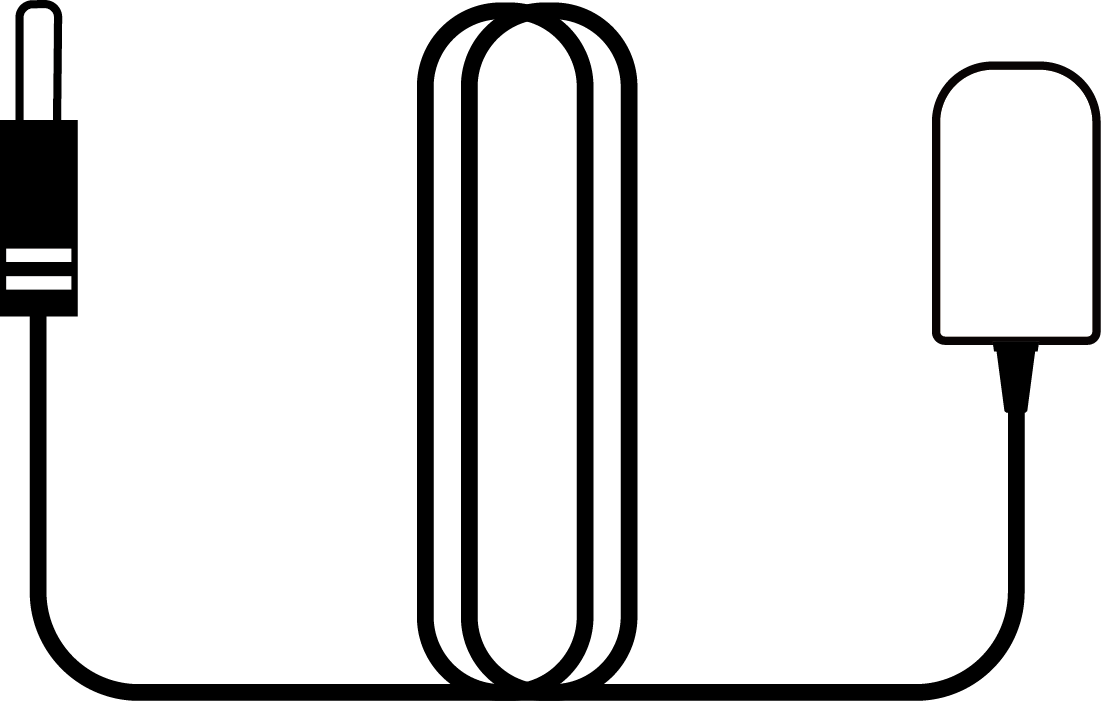
Power Adapter |
1 pc |
VSI-FFDWC15-4
| Image | Name | Quantity |
|---|---|---|
|
DWC Hydroponic Bucket |
4 pcs |
|
Seedling Planting Basket |
4 pcs |
|
Planting Basket |
8 pcs |
|
Air Stone |
8 pcs |
|
Rapid Rooter |
8 pcs |
|
Controller |
1 pc |
|
Power Adapter |
1 pc |
Key Features
-
Durable Build :Made from high-quality polypropylene for enhanced strength and long-lasting durability.
-
Maintenance Window :The specially designed gridded maintenance window opens and closes easily, allowing you to add water or test pH and EC levels.
-
Large Tank Capacity :The 4 gal / 15 L water reservoir automatically supplies your plants with water and nutrients, providing consistent hydration and nourishment.
-
High Oxygen Content :The dual air stone design maintains high oxygen levels to help prevent root rot.
-
Grow Faster :Use Rapid Rooter to promote strong early rooting and support vigorous plant growth.
-
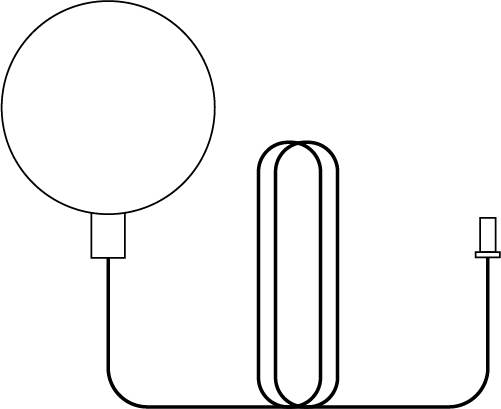
Active Monitoring :Includes a water meter and temperature sensor to help you monitor your nutrient solution.
Specifications
Dimensions |
17.2*17.2*8.6 inch (43.6*43.6*21.9 cm) |
Tank Capacity |
4 Gal (15L) |
Water Pump |
DC 5V, 2W, 160L/h |
Air Pump |
DC 5V, 4W, 2*2000ml/min, 20KPA |
Drain Pipe |
39 inch (1m) |
Air Stone |
Φ2.4 inch (Φ6cm) |
Controller Interface |
3.5 mm Jack AUX Interface *4 |
Controller Connectivity |
2.4GHz |
| LED Indicator | Status |
|---|---|
Fast flashing |
Wi-Fi disconnected |
Slow flashing |
Offline |
Notes:
Quick press the button. The green LED will flash slowly 3 times to show it is working. Long press the button for 3 seconds until the green LED is on, then release the button. The green LED will turn off and reset successfully. The controller will restart and enter Wi-Fi configuration.
Installation
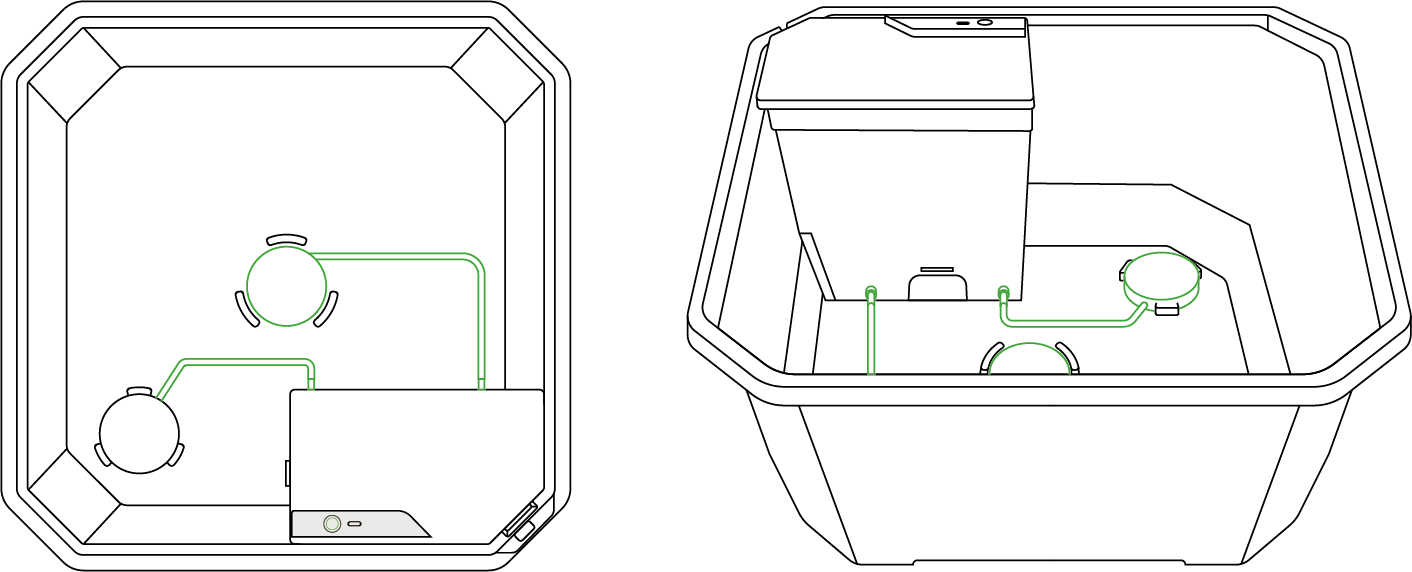
1. Installing the Air Stones
-
Place the two air stones in the allocated positions.
-
Connect the air tubes as shown in the diagram.
2. Securing the Drain Pipe
-
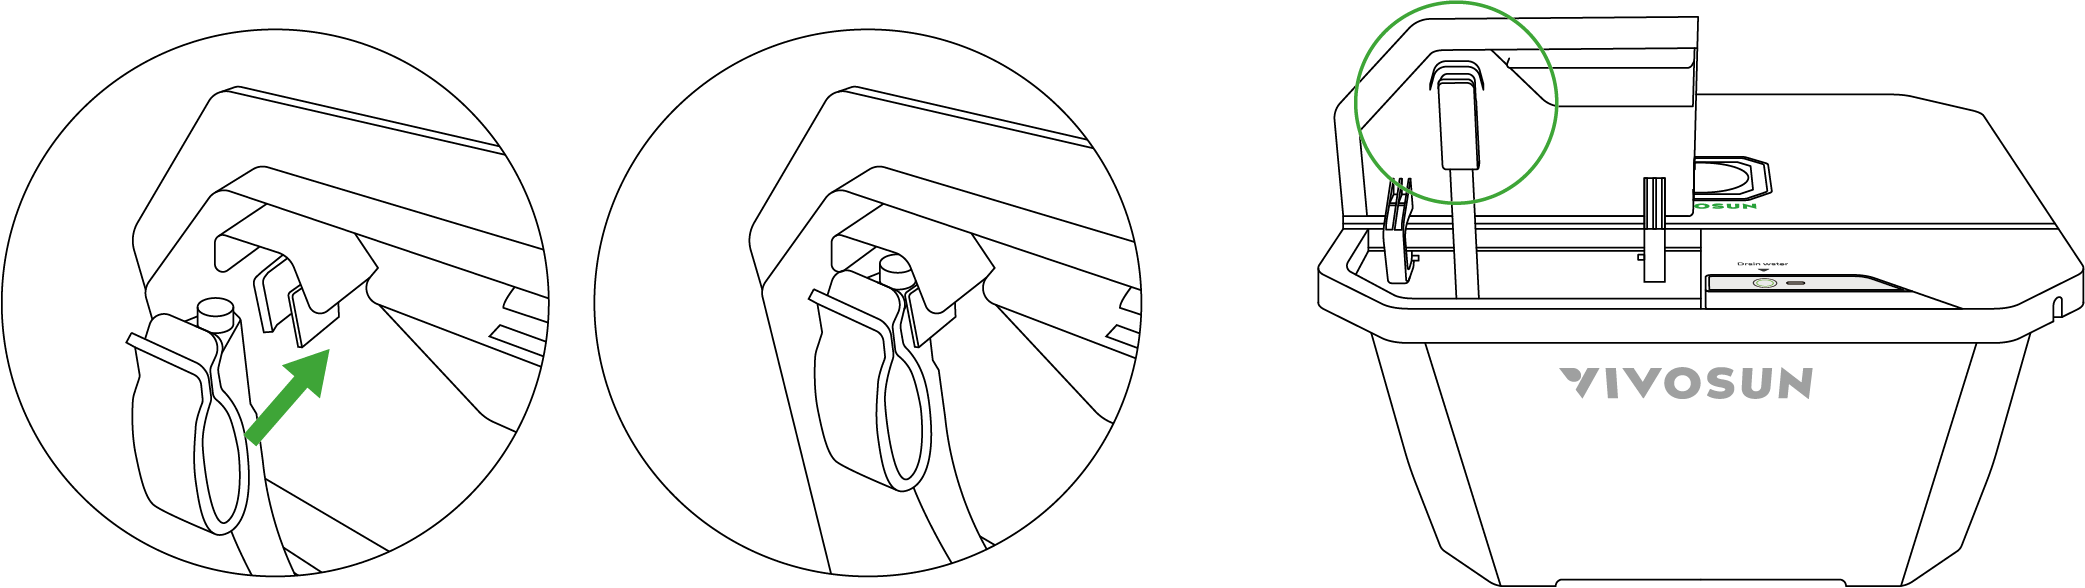
After placing the DWC Hydroponic Bucket lid, open the water inlet and pull out the drain pipe.
-
Clip the drain pipe to the back of the water inlet as shown in the diagram.
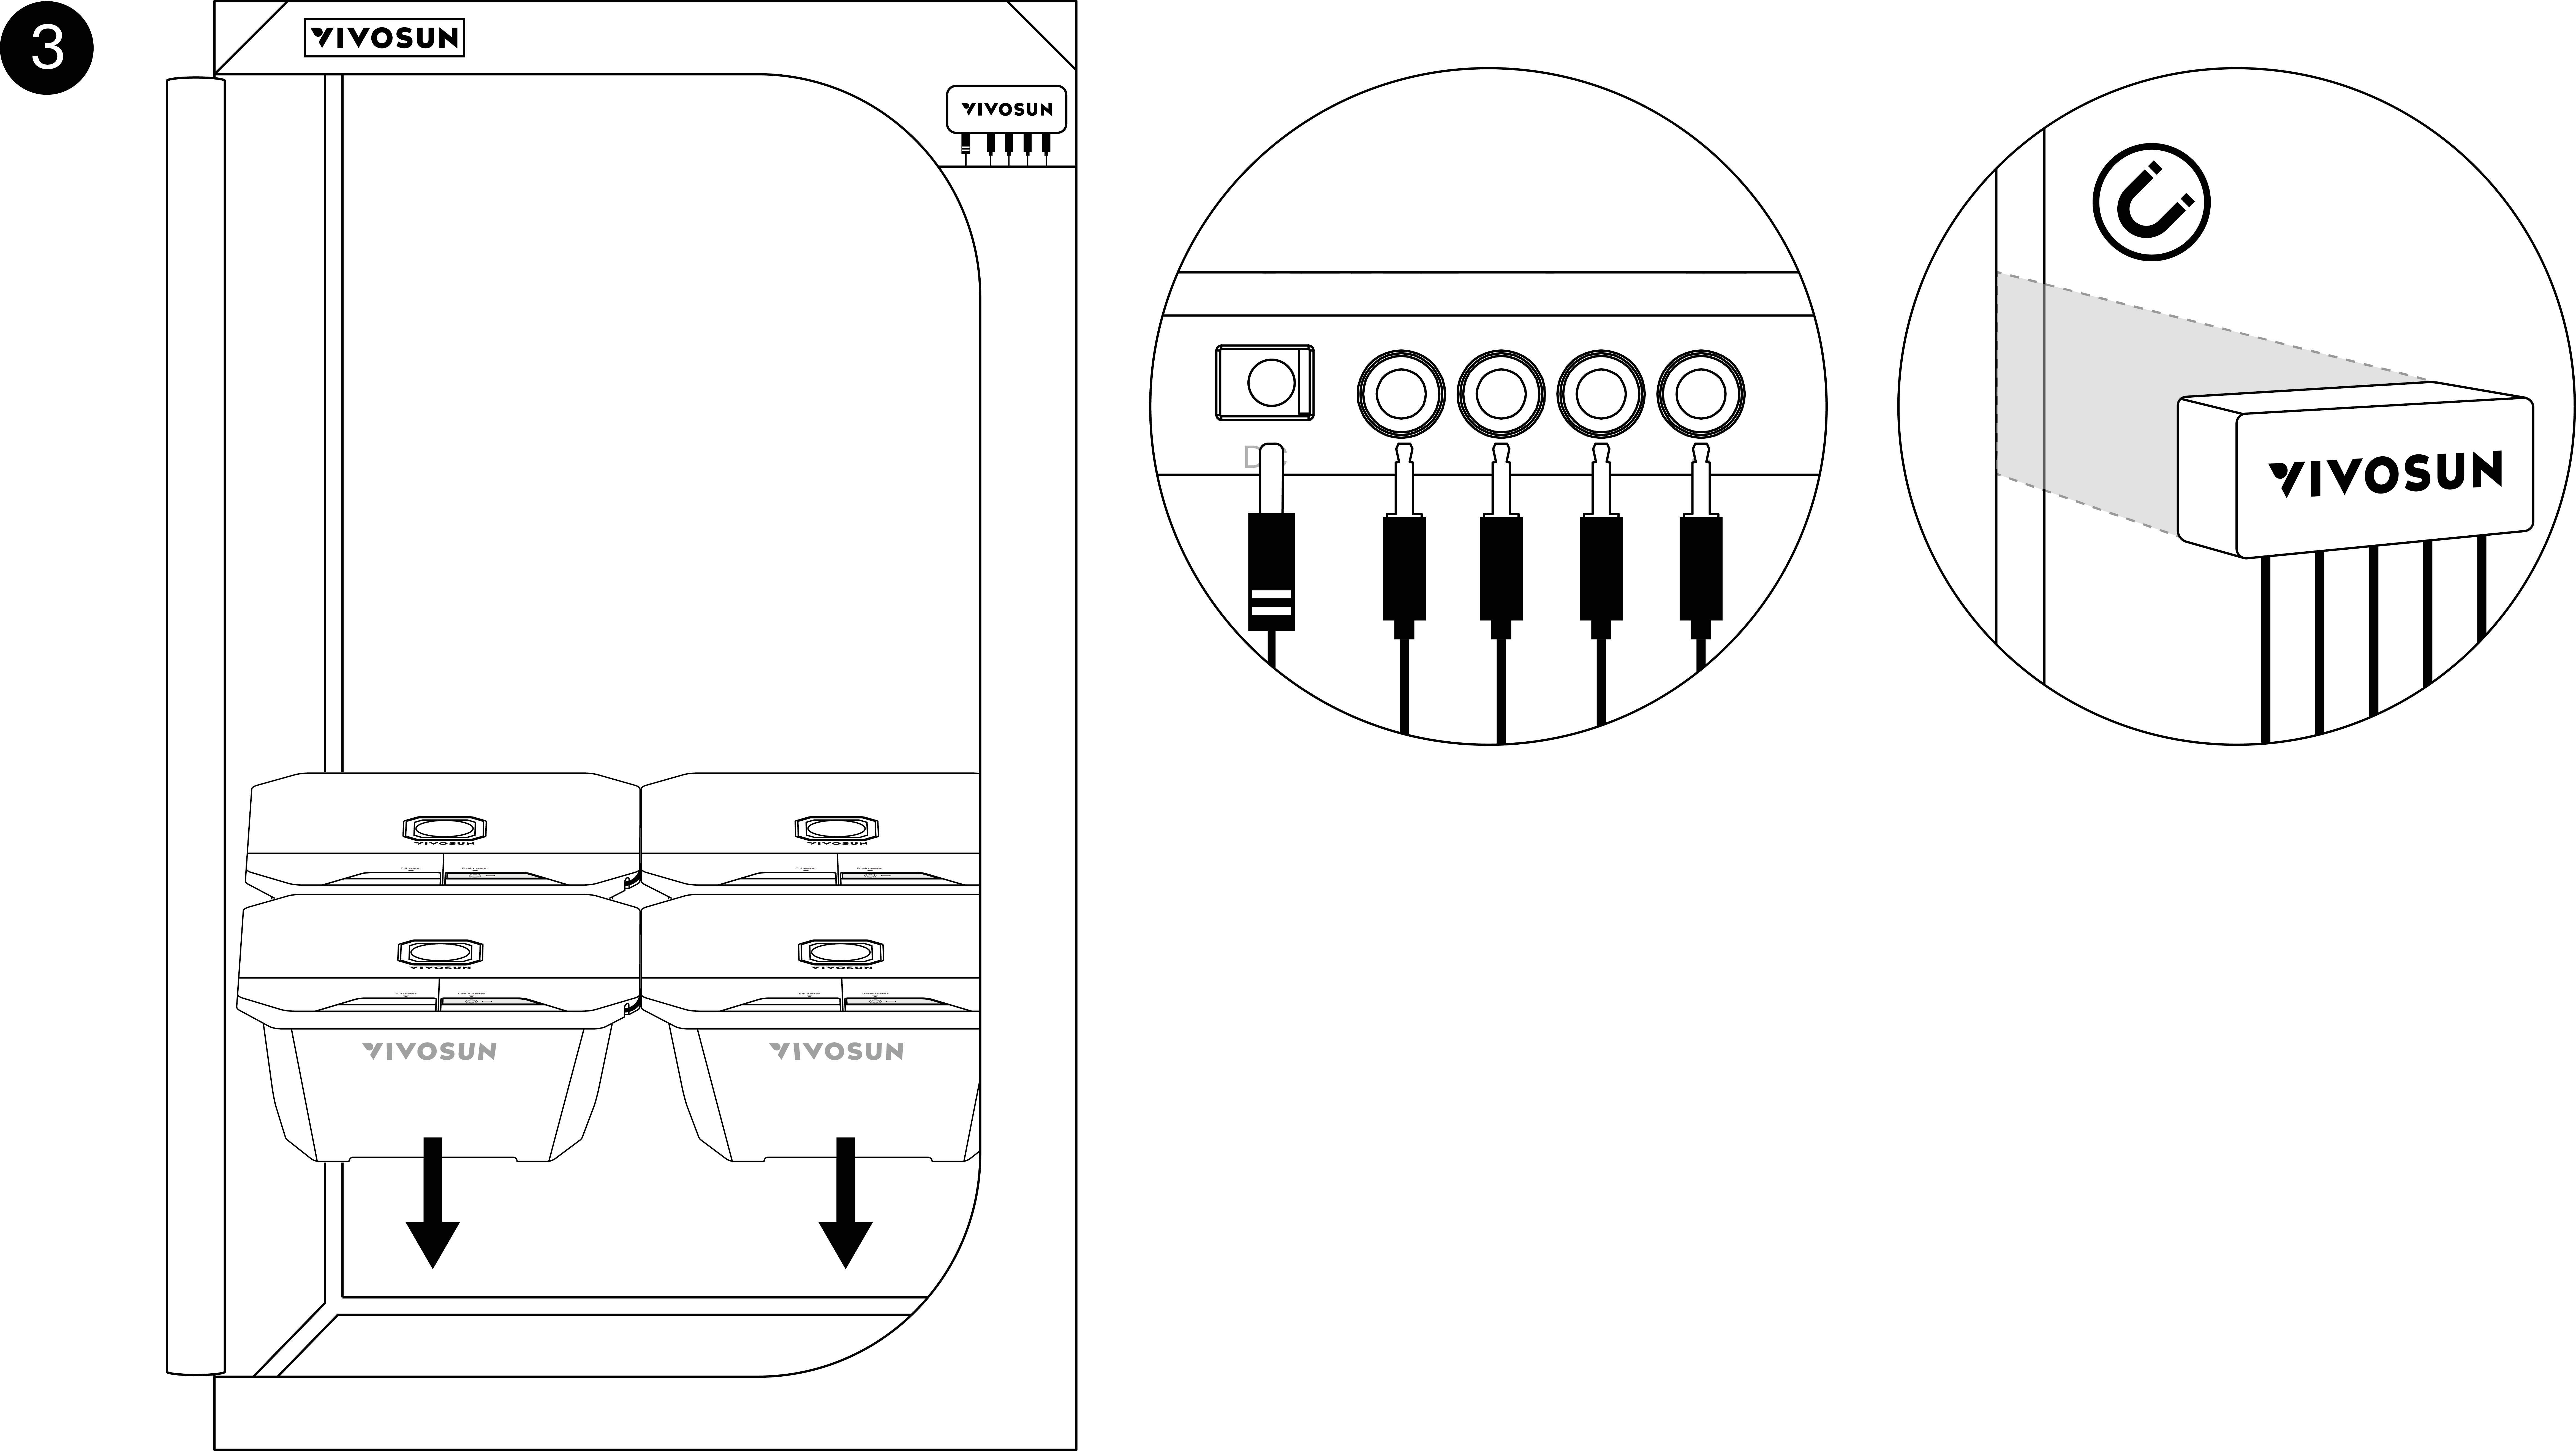
3. Install the Hydroponic Bucket into Grow Tent
-
Place the DWC Hydroponic Buckets into your grow tent.
-
Plug in the DWC controller.
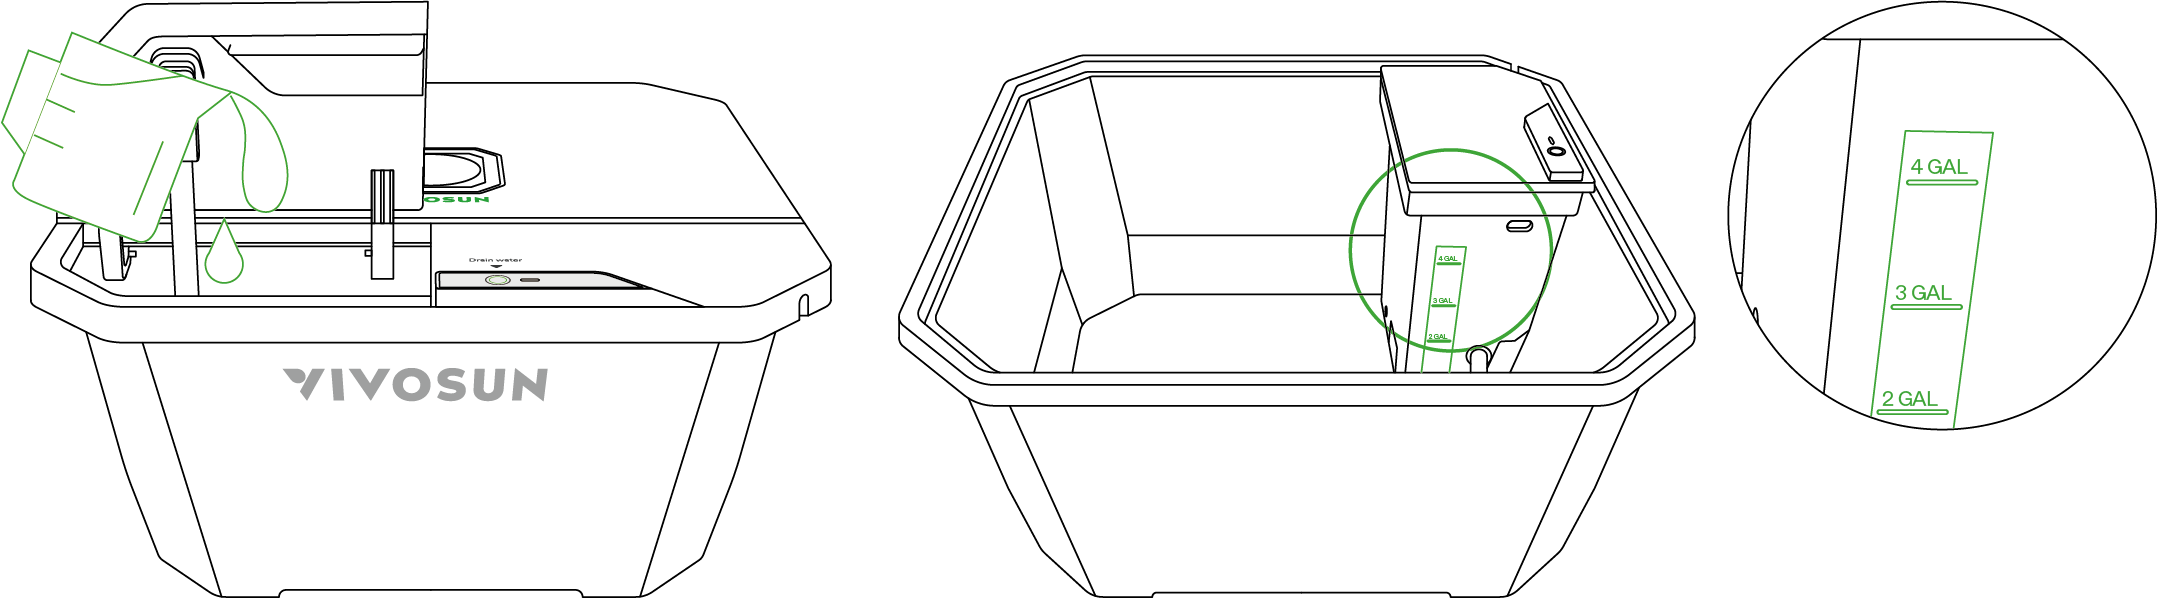
Adding Nutrients
-
Pour the nutrient solution through the water inlet.
-
Do not exceed the maximum water level, as indicated in the diagram.
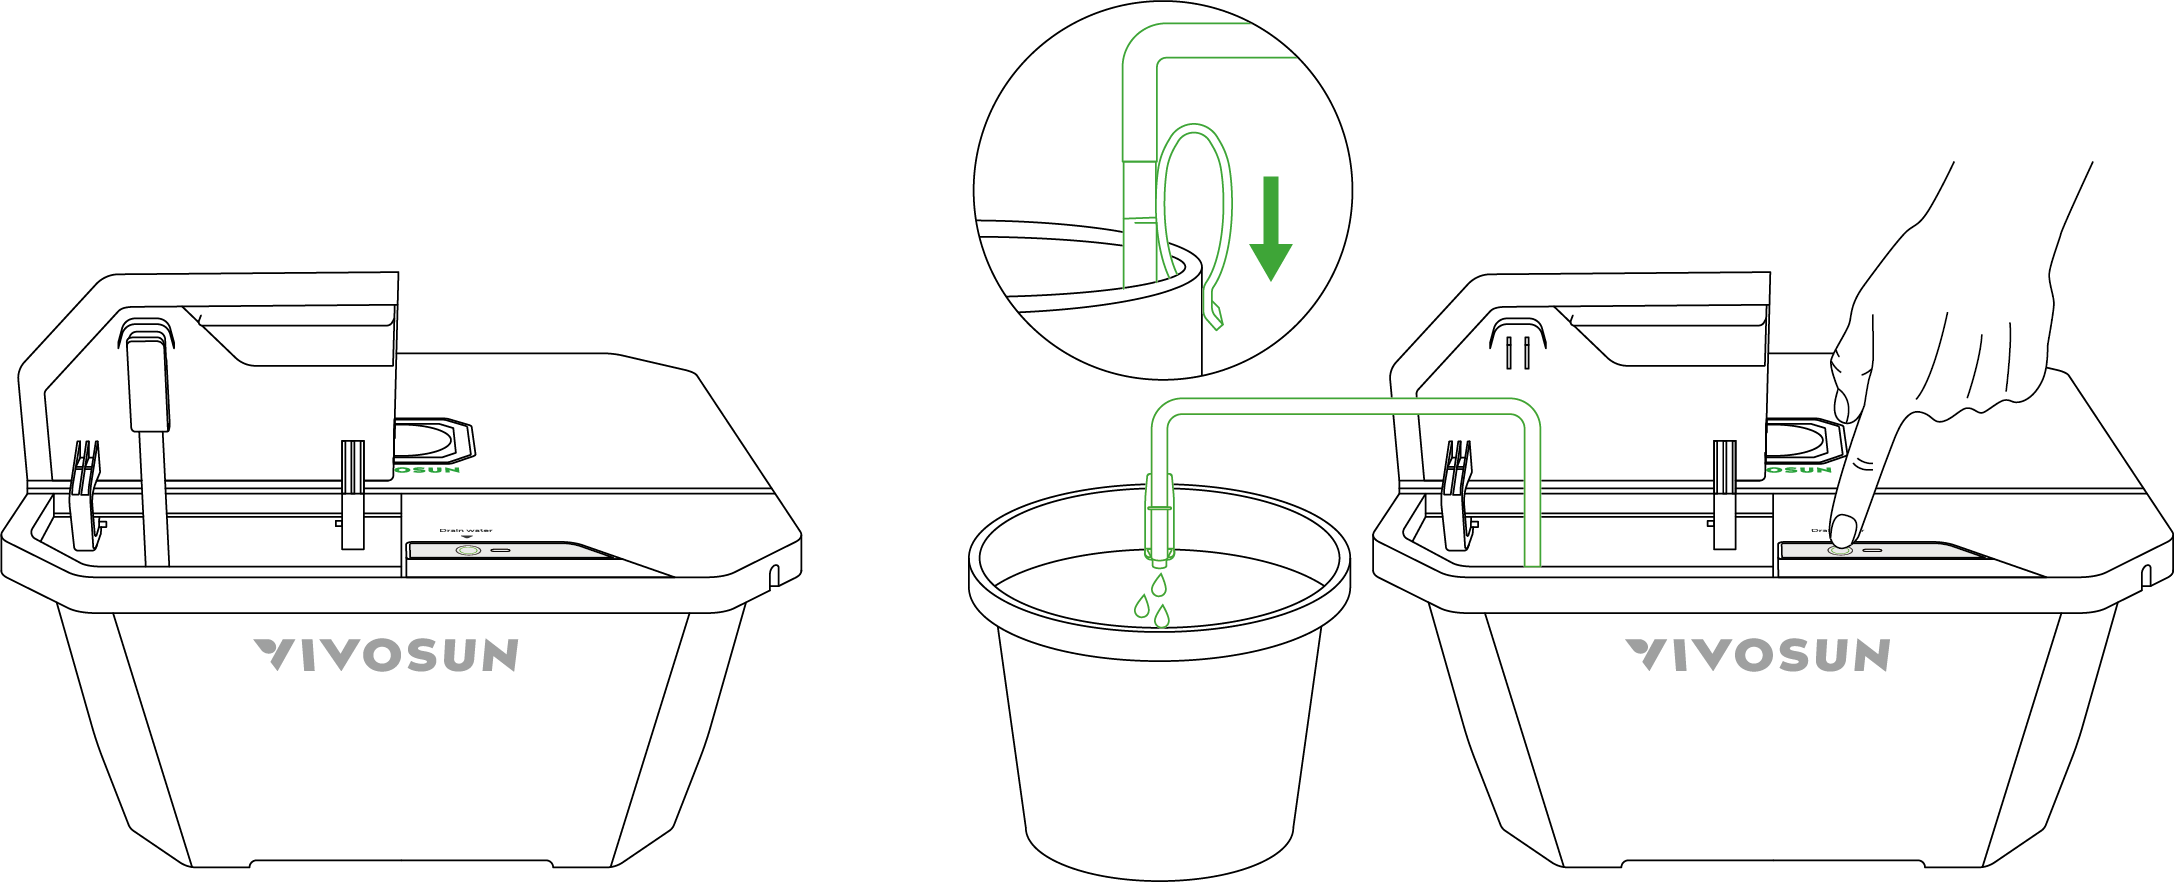
Drainage
-
Remove the drain pipe from the back of the water inlet.
-
Secure the drain pipe to a waterproof container.
-
Press the drain button to start draining.
Note: To prevent overflow from being left on too long, the water pump will automatically stop every 2 minutes. Please press the drain button again after it stops to resume draining.
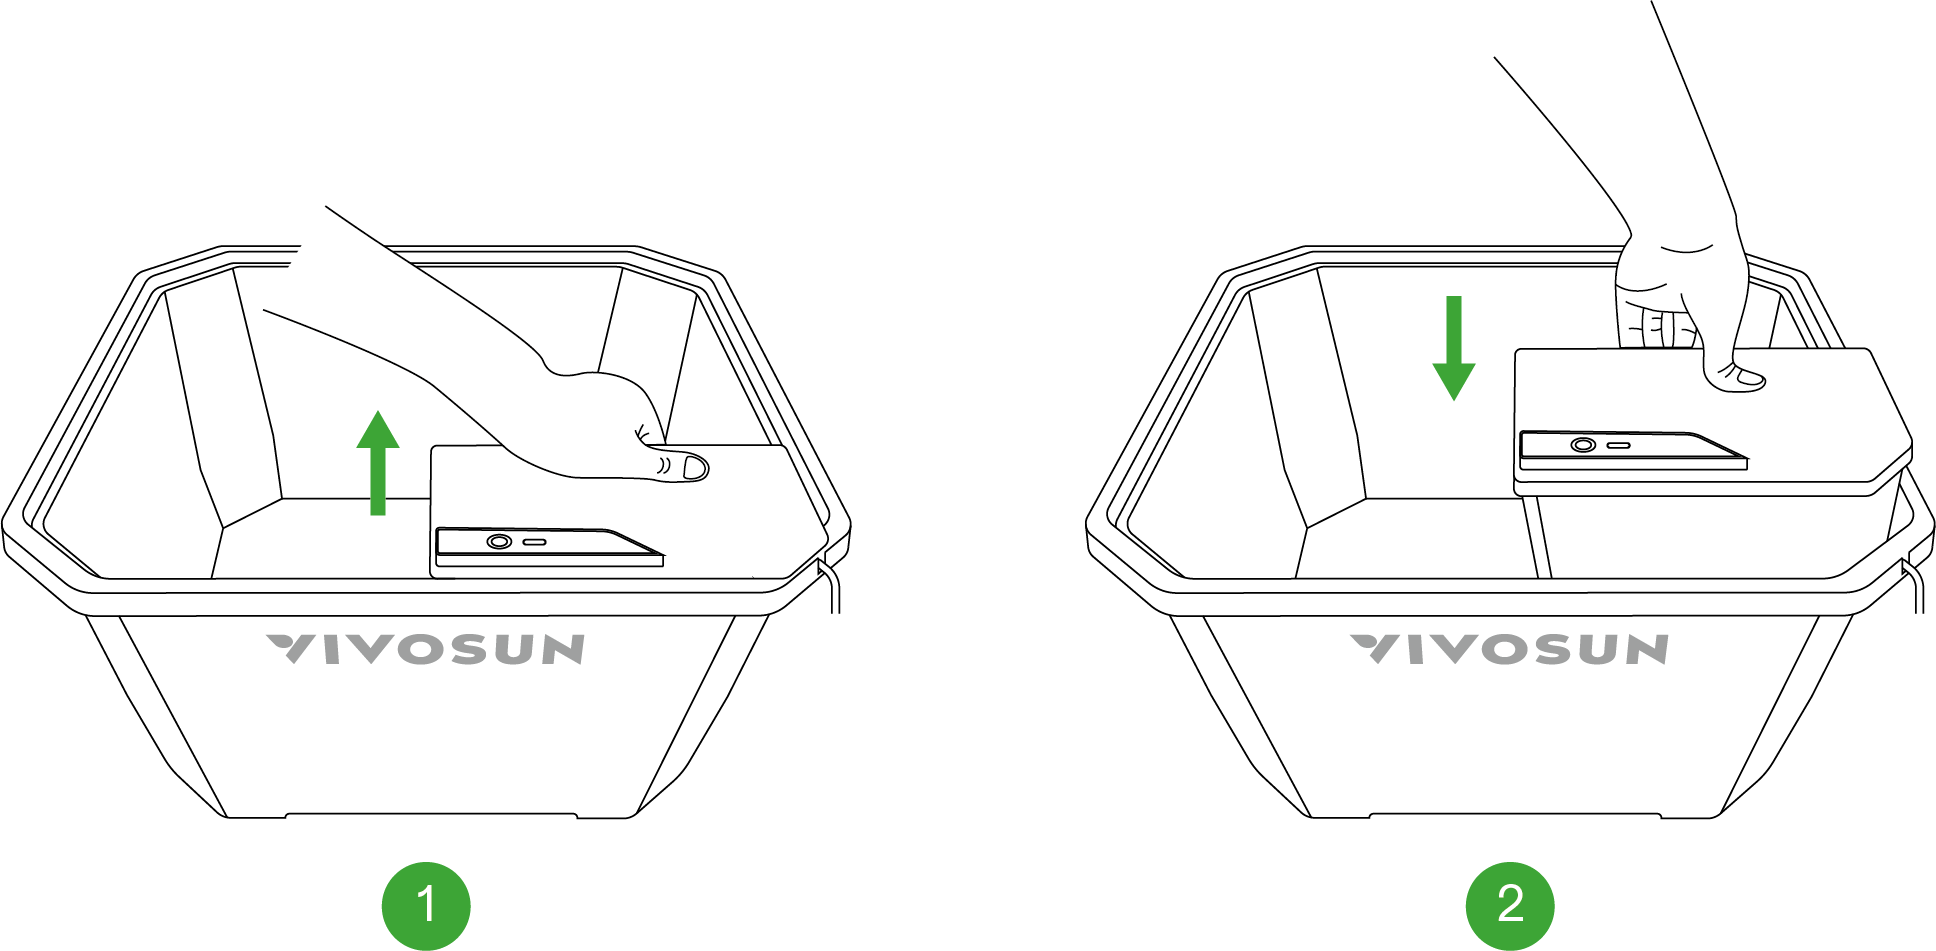
Control Box Installation and Removal
To Install:
-
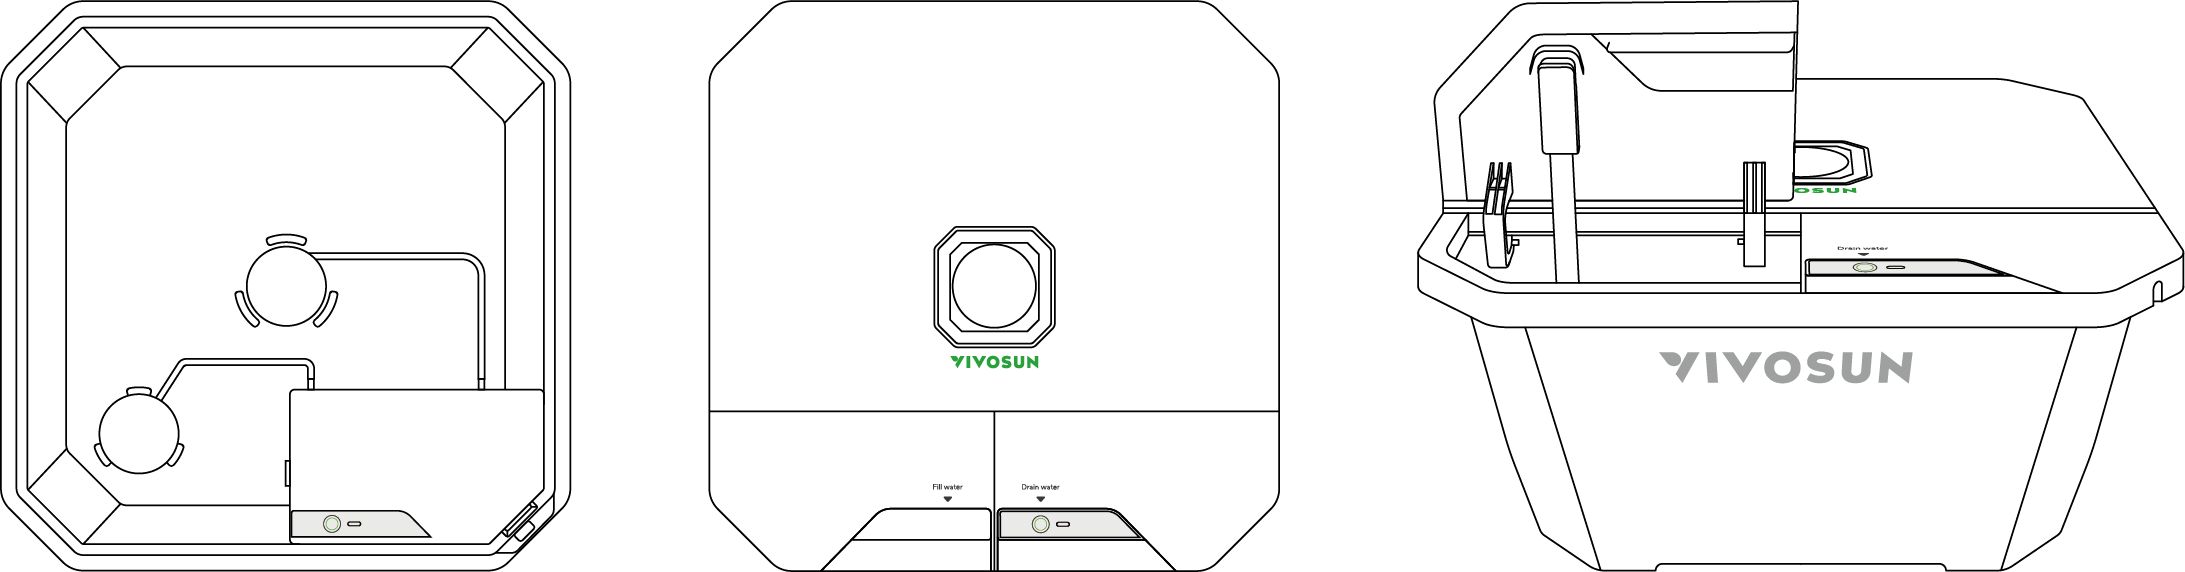
Align the control box with the lower right corner of the DWC Hydroponic Bucket.
-
Gently lower it downward until it clicks into place.
To Remove:
-
Lift the control box upward, as shown in the diagram.
Growing Guides
Step 1: Germination
Using the paper towel method for seed germination, keep the towel moist and place it in a dark environment at 70–80°F. Seeds typically sprout within 1–2 days.

Step 2: Sowing
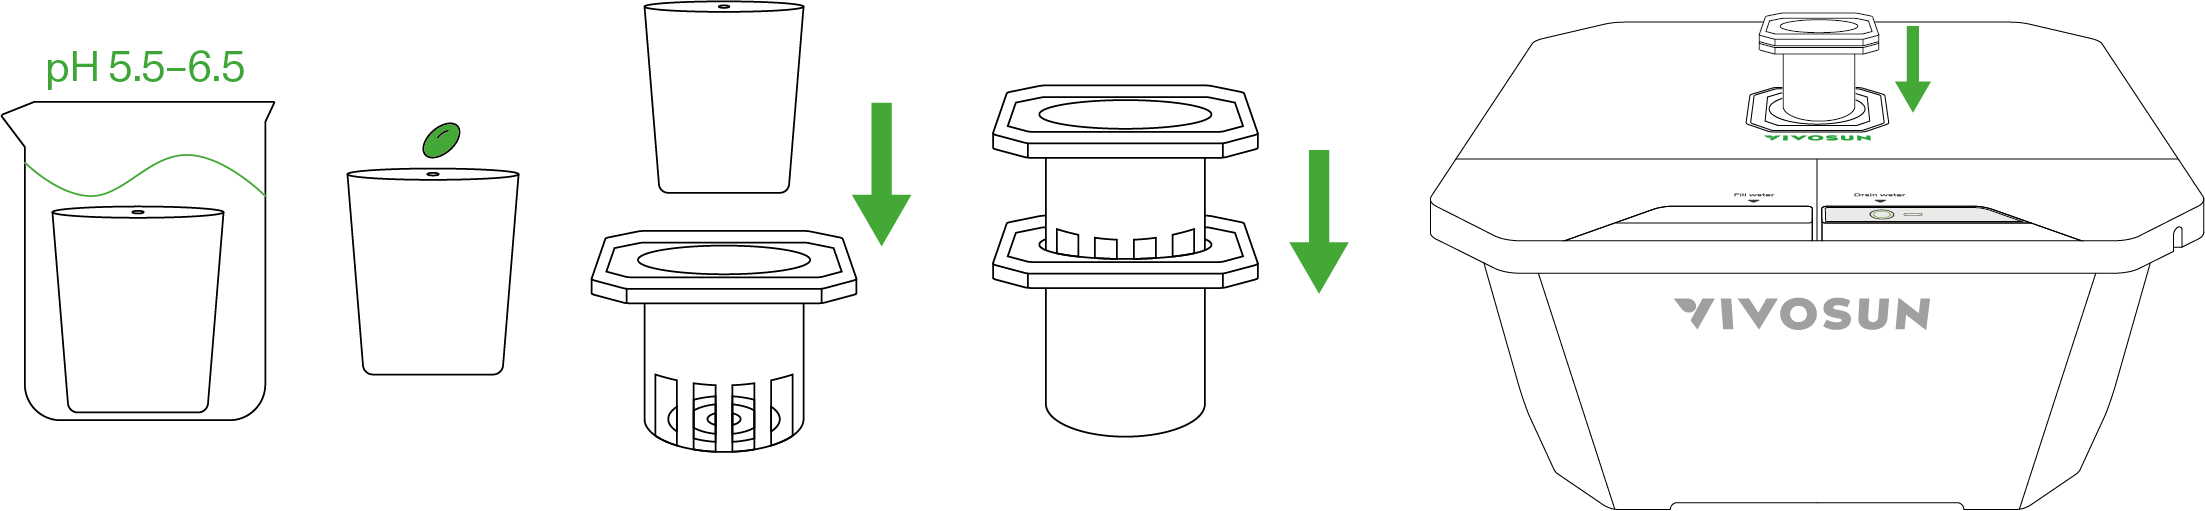
First, soak the Rapid Rooter in nutrient solution until fully saturated. The pH should be between 5.5–6.5, and the EC should be 0.5 mS/cm (250 ppm). Next, insert the germinated seeds about 0.2 inches deep into the Rapid Rooter. Place the Rapid Rooter into the Planting Basket, then into the Seedling Planting Basket, and insert them into the DWC Hydroponic Bucket. Set the VGrow recipe to “Seedling Mode.” If available, cover the seedlings with a dome to maintain humidity. Ideal conditions: temperature at 77°F; humidity between 70–80%. Seedlings typically emerge within 1–2 days.
Note: At this stage, there is no need to add nutrient solution to the hydroponic bucket.
Step 3: Seedling Stage
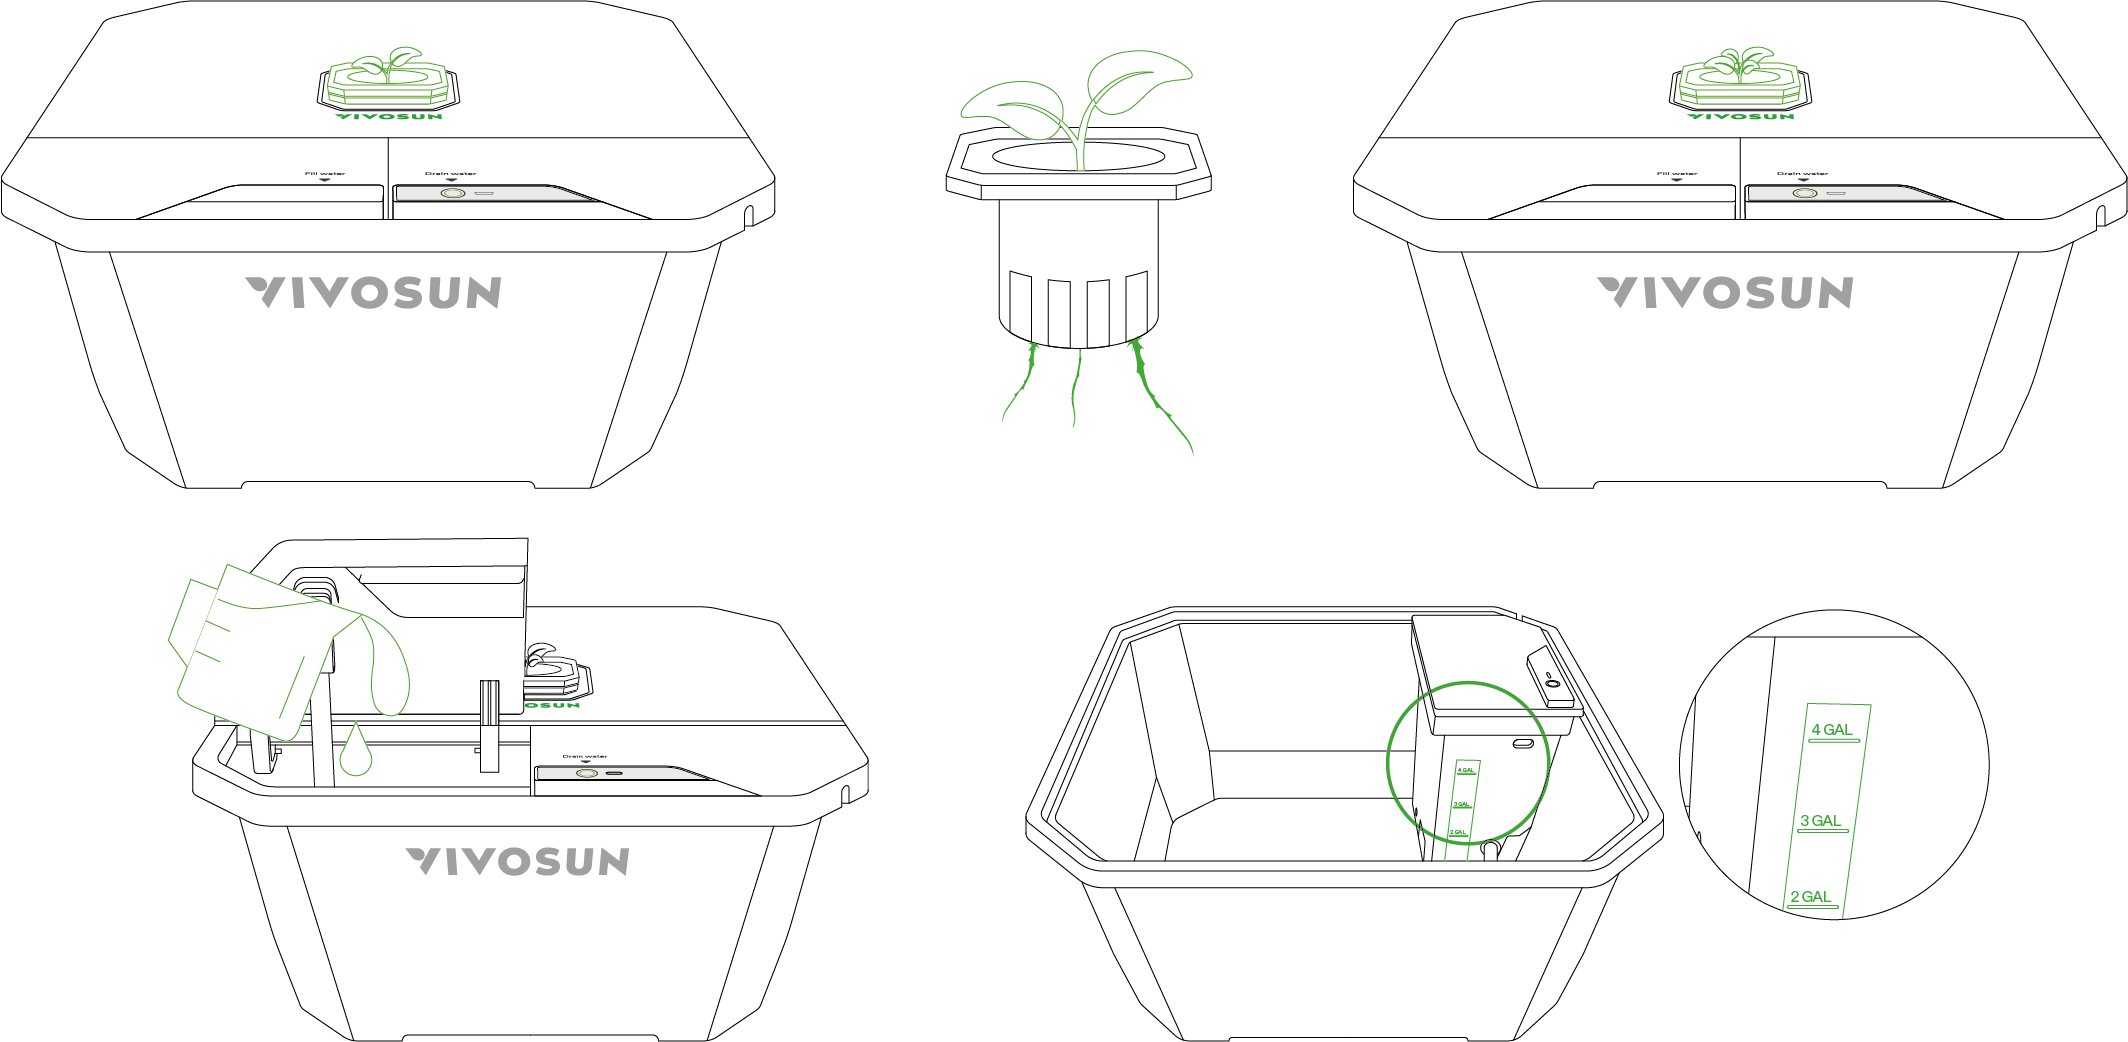
Duration: 7–14 days
Temperature: 77°F
Humidity: 70–80%.
Check the moisture level of the Rapid Rooters daily. If they become dry, replenish with nutrient solution (pH 5.5–6.5; EC 0.5 mS/cm).
Step 4: Vegetative Stage
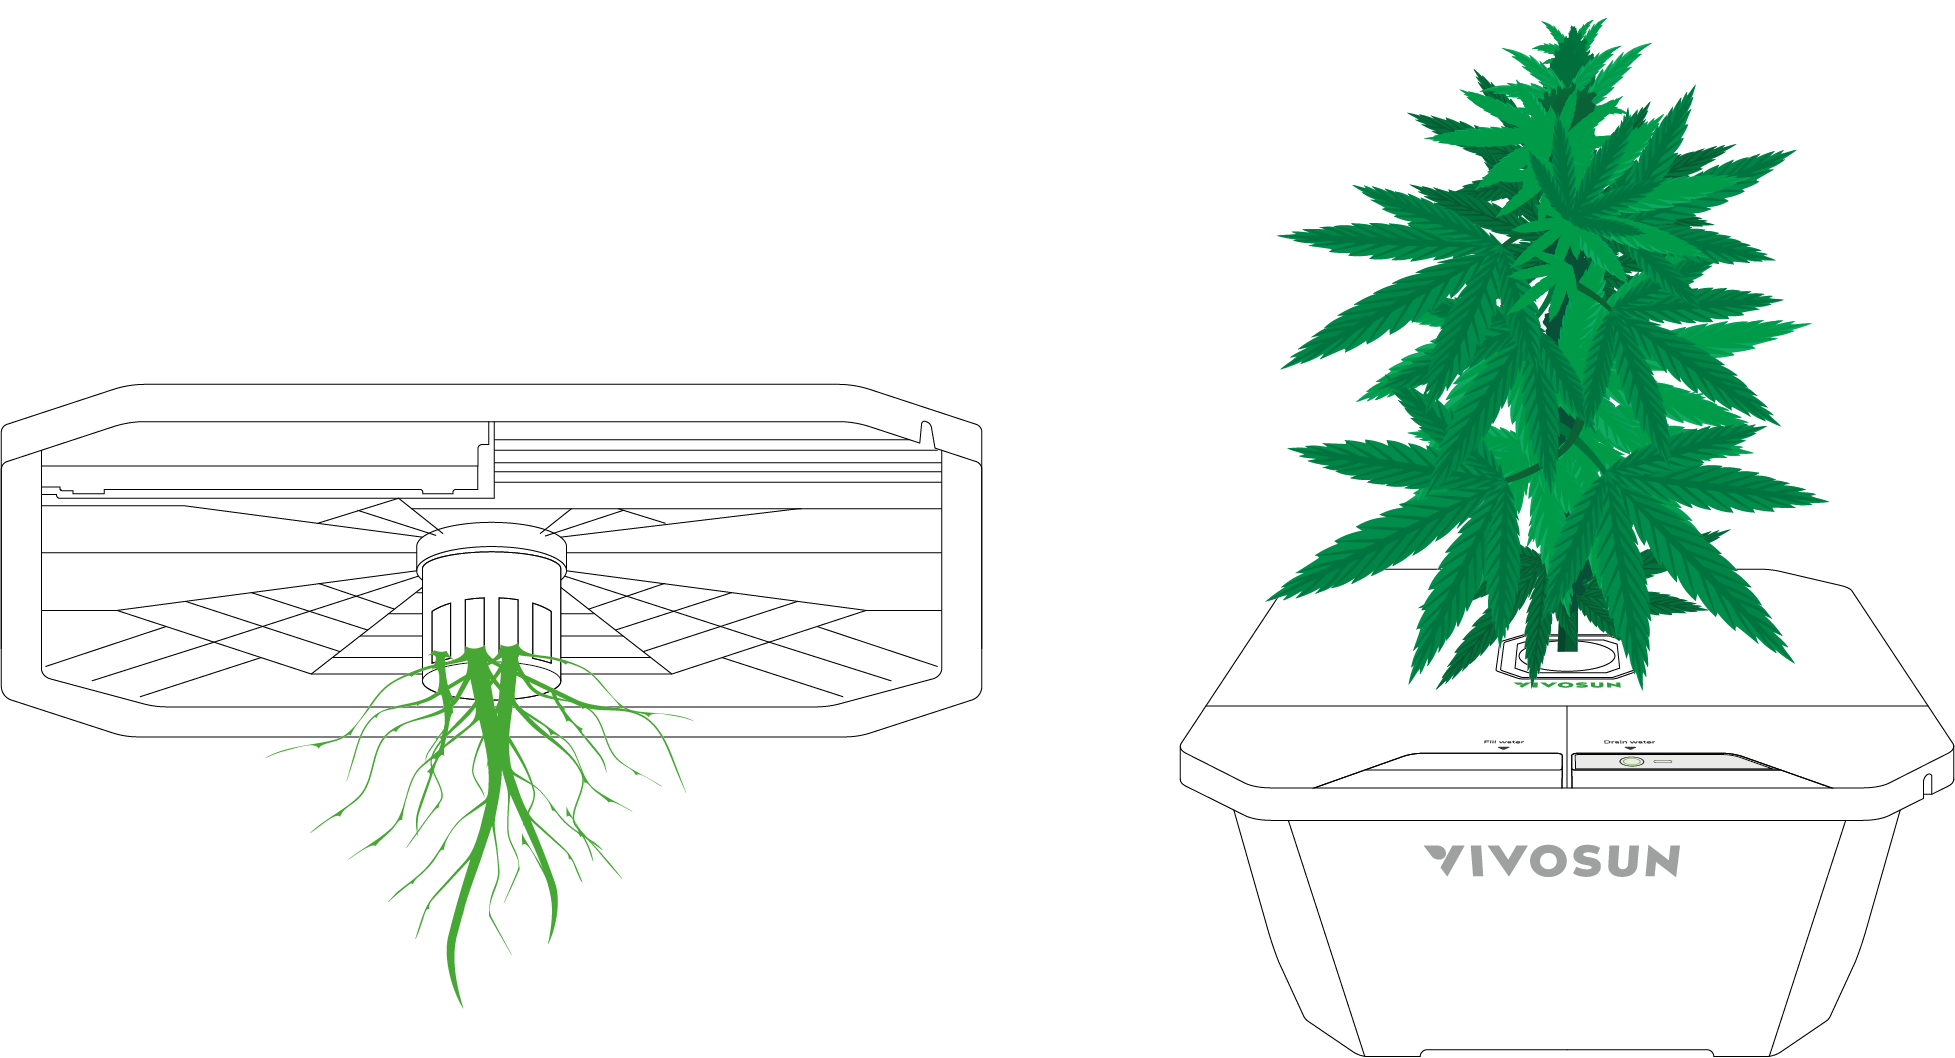
When the plant has developed two sets of true leaves and the roots have penetrated the Rapid Rooter, it is ready to transition to the Vegetative stage. Remove the Seedling Planting Basket from the DWC Hydroponic Bucket and place the Planting Basket back into the DWC Hydroponic Bucket. Prepare the nutrient solution and fill the reservoir with 4 gallons of solution.
Vivosun Nutrients Feed Chart For DWC |
|||||||||||||
Stage of Growth |
Seedling/Clone |
Vegetative |
Flowering |
||||||||||
Week |
1-2 |
1 |
2 |
3 |
4 |
1 |
2 |
3 |
4 |
5 |
6 |
7 |
8 |
Base A 4-0-1 (ml/gal) |
1-2 |
2.5 |
3.5 |
3.5 |
4.5 |
4.5 |
6 |
7 |
7 |
5 |
5 |
3.5 |
3.5 |
Base B 1-4-2 (ml/gal) |
1-2 |
2.5 |
3.5 |
3.5 |
4.5 |
4.5 |
6 |
7 |
7 |
5 |
5 |
3.5 |
3.5 |
NutriBoost 0-0-1 (ml/gal) |
1 |
1~2 |
1~2 |
1~2 |
1~2 |
2~4 |
2~4 |
2~4 |
2~4 |
2~4 |
2~4 |
2~4 |
2~4 |
Bloom Juice 0-6-4 (ml/gal) |
0 |
0 |
0 |
0 |
0 |
1 |
1 |
2.5 |
2.5 |
3.5 |
3.5 |
5 |
5 |
Cal+Mag+Iron 2-0-0 (ml/gal) |
1~2.5 |
1~2.5 |
1~2.5 |
1~2.5 |
1~2.5 |
1~2.5 |
1~2.5 |
1~2.5 |
1~2.5 |
1~2.5 |
1~2.5 |
1~2.5 |
1~2.5 |
PPM |
145-235 |
240~320 |
330~405 |
330~405 |
400~440 |
405~450 |
480~560 |
565~645 |
565~645 |
430~515 |
430~515 |
375~420 |
375~420 |
EC |
0.3~0.5 |
0.5~0.6 |
0.7~0.8 |
0.7~0.8 |
0.8~0.9 |
0.8~0.9 |
1.0~1.1 |
1.1~1.3 |
1.1~1.3 |
0.9~1.0 |
0.9~1.0 |
0.7~0.8 |
0.7~0.8 |
pH |
5.8~6.2 |
5.8~6.2 |
5.8~6.2 |
5.8~6.2 |
5.8~6.2 |
5.8~6.2 |
5.8~6.2 |
5.8~6.2 |
5.8~6.2 |
5.8~6.2 |
5.8~6.2 |
5.8~6.2 |
5.8~6.2 |
This chart is for water starting with a PPM level of zero. For each 50 PPM level of hard water you start with, your EC will rise by 0.1. This is based on the PPM x 500 scale.
Instructions:
-
It is recommended to use at least the Base Nutrients solution each time you add water, and to adjust the pH to between 5.8 and 6.2.
-
When using RO water, it is recommended to add a Cal-Mag additive.
-
If your plant variety requires additional growth weeks, repeat the nutrient concentration from flowering week 8.
-
This is a baseline recommendation. Please adjust the nutrient solution concentration based on the plant variety, growth conditions, environmental factors, and other variables.
-
It is recommended to change the nutrient solution once a week.
-
Please add nutrient solution promptly when the low water alert is triggered.
Maintenance
-
Prepare the nutrient solution according to the instructions provided with the product.
-
It is recommended to replace the nutrient solution once a week.
-
When the low water level alarm is triggered, promptly refill to the maximum water level line with nutrient solution.
Warning
-
Do not stand on the product.
-
Do not add water beyond the maximum water level line. Water must not enter the control box.
-
Perform a test run with clean water to ensure the air pump and pipelines are functioning properly.
-
Perform regular maintenance to prevent the growth of algae or bacteria.
-
If the product is damaged, stop use immediately and contact us for support. Disassembly or modification without Vivosun’s express permission will void the product warranty.

DO NOT dispose of this product with regular household waste. Electrical appliances contain hazardous materials that can harm the environment if not handled properly.
Please contact your local authorities for information on nearby drop-off centers or approved recycling programs that accept electronic waste.
Warranty
VIVOSUN offers a 2-year limited warranty on this product purchased directly from us or our authorized dealers, beginning on the original date of purchase.
This warranty is provided in addition to, and does not affect, your statutory rights under applicable consumer protection laws in the country where the product was purchased.
For the full Warranty Policy, please visit: https://www.vivosun.com/help/warranty-policy
Alternatively, you may contact customer service at support@vivosun.com / +1 888-505-8486.
Contents

We help you grow your best green.

We provide the highest quality.

We relentlessly pursue the future.

We make growing more enjoyable.

We support every grower.
Sign up and get 8% off your first order
©2026 Vivosun All Rights Reserved