
Cultivating cannabis has become enormously popular in recent years as laws surrounding its legality have changed. Growing your own cannabis can be an enjoyable hobby with the added benefit of knowing exactly where your product comes from. While outdoor grows have their advantages, an indoor setup allows you to control every aspect of the growing environment. In this post, we’ll walk through the key steps to successfully cultivating cannabis indoors.
Introduction - Cultivate Cannabis Indoors in 8 Simple Steps
As cannabis laws continue to relax across America, growing your own plants is becoming an increasingly attractive option. With an indoor cultivation setup, you can provide optimal conditions for healthy plants and maximize your yields. Though it requires some initial investments and ongoing care, growing cannabis indoors allows you to reap the benefits of homegrown buds. If you’re new to indoor cannabis cultivation, this post will provide a step-by-step guide to get you started.
**What is Indoor Cannabis Cultivation? **
Indoor cannabis cultivation refers to growing cannabis plants in a controlled, indoor environment. This could be a spare room, basement, greenhouse, or grow tent outfitted with the necessary lighting, ventilation, humidity control, and other equipment. As opposed to outdoor grows which are subject to fluctuating weather and climate conditions, indoor setups allow growers to fully control the plants' environment. This makes it easier to optimize conditions for growth and maximize yields.
**Why Grow Cannabis Indoors? **
There are several key reasons why you may want to cultivate cannabis indoors:
- Full control over growing conditions - You can perfectly tailor temperature, humidity, light, etc. to the plants' needs.
- Multiple grow cycles per year - Outdoor grows are limited by seasons and climate. Indoors you can grow perpetually.
- Stealth and security - Indoor grows are hidden from public view and lower the risk of theft.
- Higher yields - With perfect conditions, you can achieve much higher yields per plant.
- Consistent results - An indoor environment mitigates impacts from pests, mold, mildew, etc.
Step 1 - Select Your Grow Space
First, you’ll need to decide on an appropriate space for your indoor growing. A spare bedroom or basement area works well. The space should allow for proper ventilation and humidity control. Experienced growers recommend a minimum of 7' height to allow adequate light distance from the tops of plants.
Consider how much cannabis you want to cultivate and choose your space accordingly. A 4’x4’ grow tent can comfortably accommodate 4-6 plants. Larger spaces will be needed for bigger grows. Make sure your grow area is in a location with easy access to power and water.
Step 2 - Install Grow Lights
Cannabis plants need intense light in the red and blue spectrum for robust growth. Outdoor sunlight can’t be matched indoors, so high quality grow lights are essential. LED grow lights that provide full spectrum light are recommended over older HID lighting systems.
Full cycle LED grow lights can be hung above plants to provide everything needed for vegging and flowering growth phases. Hanging lights on retractable ropes allows you to easily adjust the distance from the plants as they grow taller. Proper lighting is crucial for potent buds and maximum yields.
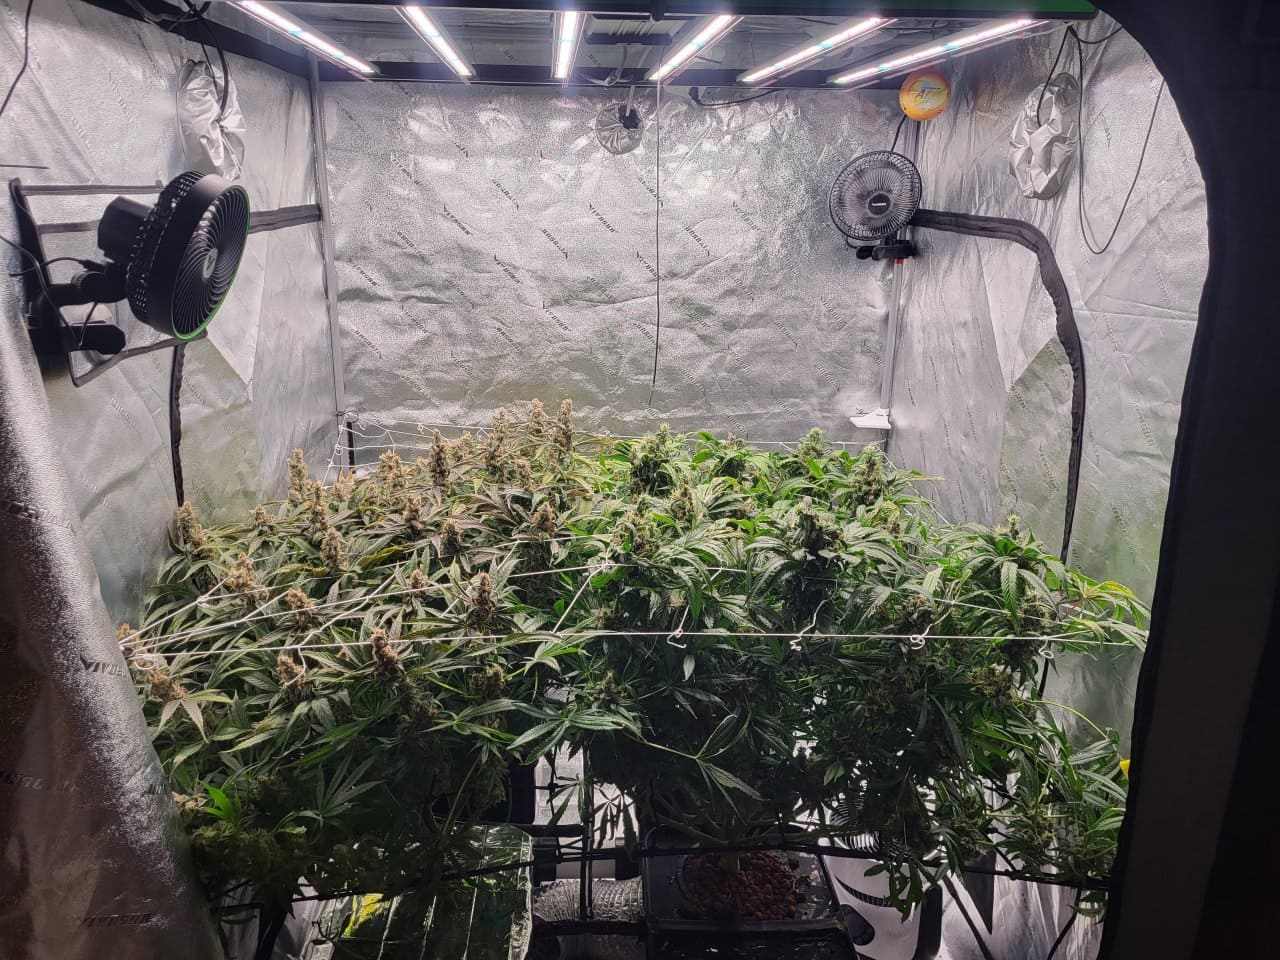
Step 3 - Set Up Ventilation
Proper air circulation and ventilation are vital in an indoor grow space. Exhaust fans should be used to vent out hot air and maintain a suitable temperature range. Bringing in fresh air through passive intakes is also important.
An exhaust system with a carbon filter helps eliminate odors that might arise later in the flowering stage. Fans placed within the growing area circulate air and strengthen plants through stem stress. Monitor temperature and humidity levels regularly to dial in optimal ranges.
Step 4 - Pick Your Growing Medium
Cannabis can be grown in a variety of indoor growing mediums, each with its own pros and cons. The most popular options are soil, coco coir, and hydroponics.
Soil is beginner friendly but heavier and prone to pests. Coco coir is lightweight and sterile but requires more frequent watering. Hydroponics offers the fastest growth but involves greater complexity.
First-time growers are advised to start with high quality potting soil or coco coir. Make sure your containers have drainage holes at the bottom. 3-5 gallon pots are ideal for full size plants.
Step 5 - Germinate Seeds or Obtain Clones
Next, you’ll need to start your plants. This can be done from regular cannabis seeds, feminized seeds, or by obtaining clonal cuttings from a mother plant.
Germinate seeds by soaking them first in a cup of water for 12-24 hours. Seeds should then be planted a half inch down in your growing medium. Clones can be immediately planted into the grow setup.
Growing from regular seeds carries the risk of males, which must be discarded. Feminized seeds or clones ensure you end up with bud producing female plants.
Step 6 - Vegetative Stage Care
Once sprouted or rooted, cannabis plants will enter the vegetative growth stage. This period usually lasts 4-8 weeks as plants establish roots and leafy growth.
During the vegging stage plants need 18-24 hours of daily light. Use an all-purpose plant nutrient with higher nitrogen levels. Water when the top inch of medium is dry and keep humidity at around 65%.
Train plants as needed through the topping, low stress training, or scrogging. This promotes even canopy growth and higher yields. Monitor for any signs of pests or deficiencies.
Step 7 - Bloom Stage Care
After sufficient vegetative growth has occurred, adjust lights to a 12/12 schedule to trigger the flowering bloom stage. This forces the plants to start forming buds as they receive less light per day.
Switch to a bloom booster nutrient with more phosphorus and potassium and less nitrogen. Continue monitoring moisture levels to avoid over or under-watering. Increase airflow to avoid mold or mildew later in flowering.
After 7-9 weeks of the 12/12 light cycle, buds will be fully formed and ready for harvest. Use a jeweler's loupe to inspect trichomes and determine peak ripeness.
Step 8 - Harvest and Cure Buds
Once adequately ripened, plants can be harvested. Cut down the entire plant and hang it upside down to dry for 10-14 days. Trim off leaves, then transfer dried buds to glass jars for the curing process.
Curing for 4-6 weeks allows buds to slowly dry out further and improves flavor. Open jars periodically to control humidity during this phase.
After a successful first harvest, you can prepare the grow space and start the process again. With the right conditions and care, indoor cannabis cultivation can provide a long-term, sustainable source of homegrown buds.
Tips for New Growers
If this is your first time cultivating cannabis indoors, keep these tips in mind:
- Start with just 2-4 plants for your first grow - Don't overwhelm yourself with a large setup right away.
- Stick to simpler growing mediums like soil or coco coir - Avoid complex hydro or aeroponic systems initially.
- Seek help from online grower forums - An amazing resource to get advice anytime problems arise.
Conclusion
With cannabis legalization expanding, growing your own plants is becoming increasingly more feasible. By following the steps outlined above for setting up lights, ventilation, choosing growing mediums, and guiding plants through their growth cycles you can have homegrown buds in a matter of months.
Indoor cultivation does require an investment upfront and consistent care of your plants, but the rewards are well worth it. If you have any other questions about starting your own indoor grow, don't hesitate to drop us a line. Happy growing!
As always if you have any questions you can message our Instagram or Facebook and we’ll be glad to help you out! We’re happy you’re on this journey and we want to help in any way we can.
