Congratulations! Your plants are growing and looking great! But now they are growing too well and they are outgrowing the container you started them in. Not to worry—we can now transplant them into bigger pots that will take them all the way to harvest or to whatever goal you might have! Transplanting now!
We will teach you how to do it and why it is necessary, so your plants remain happy and healthy until the very end.
Transplanting: When, Why, and How
Growers usually start in small containers, cups, or pots. This is done so that they can pick the very best growing plants to continue growing and chop down the ones that are not growing well. Eventually, in these smaller cups, the roots will grow too dense and the plant will become rootbound. When this happens plant growth slows down and plants become hard to manage. We help them reach their full potential by moving them into a bigger pot, also known as transplanting.
“Well, why can't I start in larger pots in the beginning?” That is a great question! We start in a smaller pot to let the plant get a little root bound. This will help develop a great root mass for the plant when it becomes old enough to flower, and each time we transplant we are allowing the roots a little more room to grow so we help make the plant root system as healthy as possible.
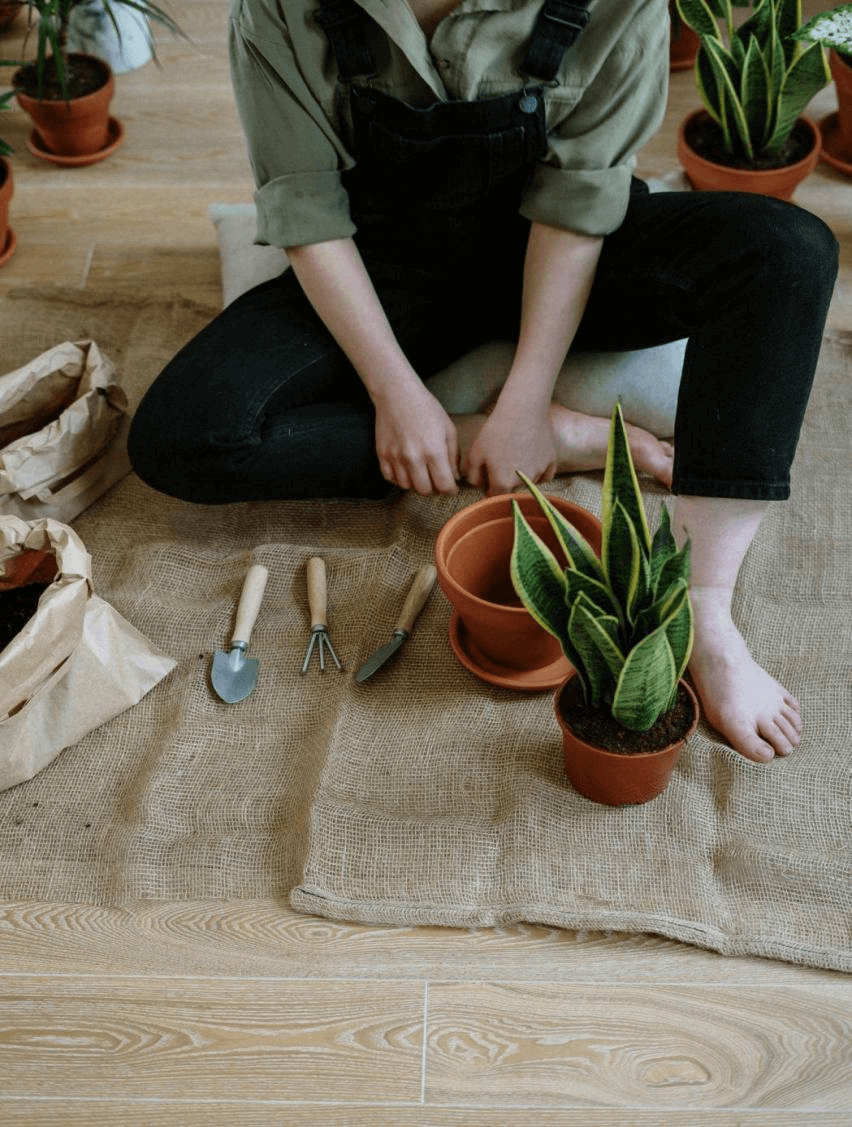
Everyone has a different method of transplanting, but we will go over the basics and let you tweak them to fit your growing style later on—just keep track of the changes your plant goes through as it grows.
We start by getting a bigger pot, usually from the starter cups we will go to a 1 gallon, then a 3 or 5 gallon to bring the plants to flower. For now, we will focus on the 1-gallon container as transplanting your plants to larger-sized pots is the same process. Imagine we are going to transplant your plant from a cup (it's seedling home) to a 1-gallon pot.
In the 1-gallon pot we add our potting soil—fill the pot about halfway with soil then you can set the smaller pot and plant in the middle, and then continue filling the 1-gallon pot with dirt around the edges of the center, where the plant will be placed. We do this so that when we transplant the plant will already be placed in soil and we don’t need to put a lot of effort in filling all the spaces around the plant.
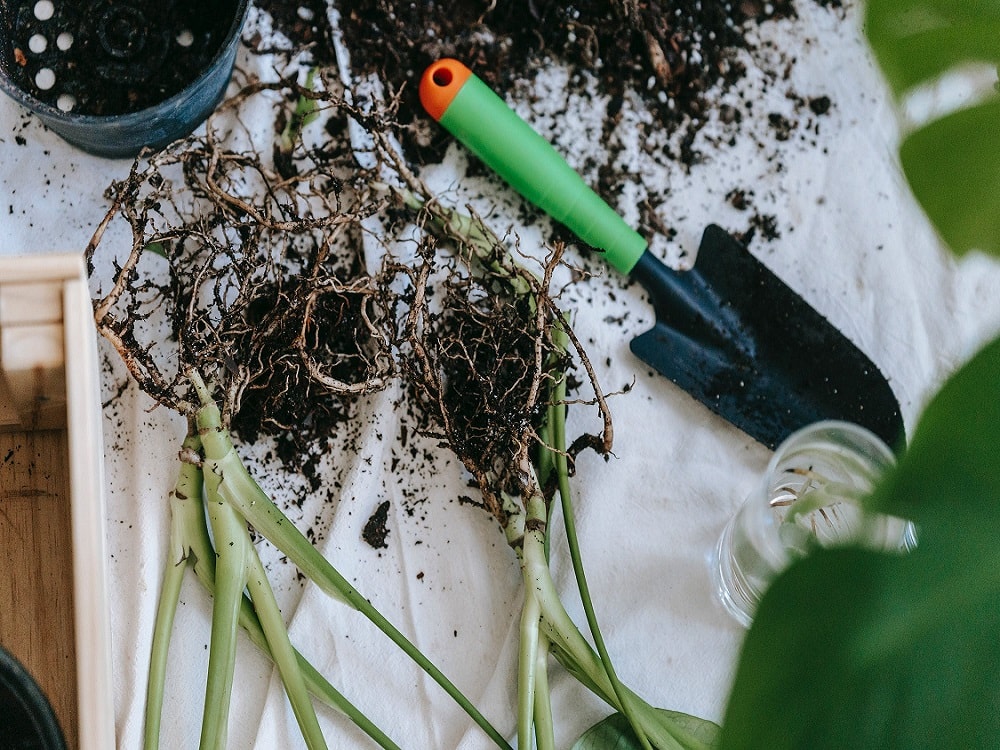
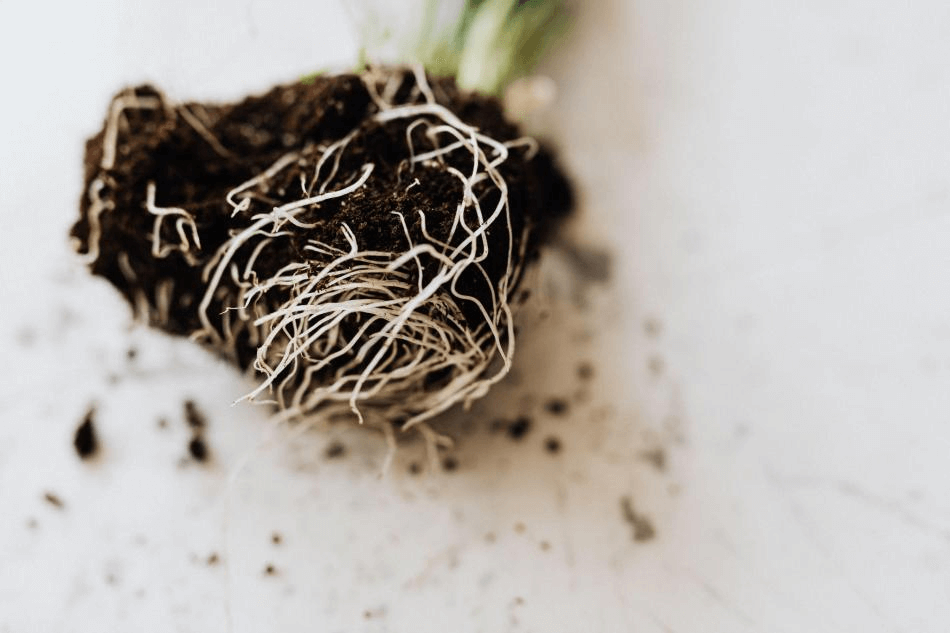
At this point, you should have the bigger pot mostly filled with soil and with a hole in the middle the size of the smaller pot. It's easiest to transplant when the soil is a bit dryer as the roots will hold together better. Hold the smaller pot over the bigger one and turn the plant sideways to upside down and give the smaller container a gentle squeeze. Try not to pull on the plant as it could damage the roots if you pull too hard.
The container should release the soil without much effort and you should now be holding a plant with a root ball and dirt on the end. Instead of going directly into the new hole, we need to help the roots a little. We do this by gently squeezing the root ball and uncurling the roots as gently as we can—be sure not to break or pull off any root as you do this.

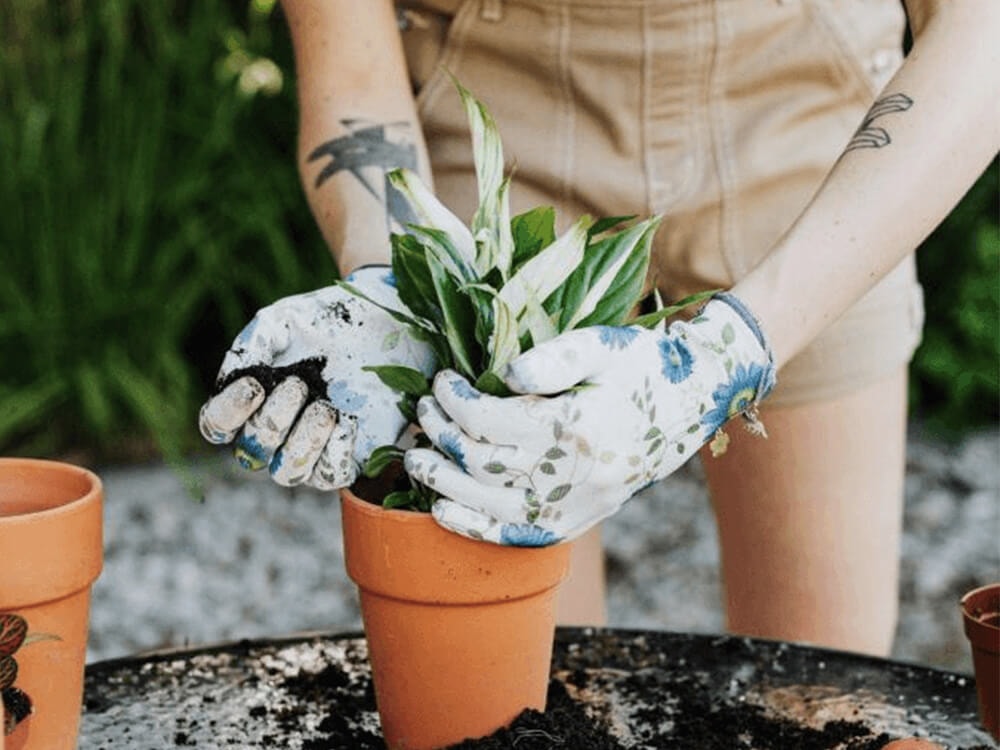
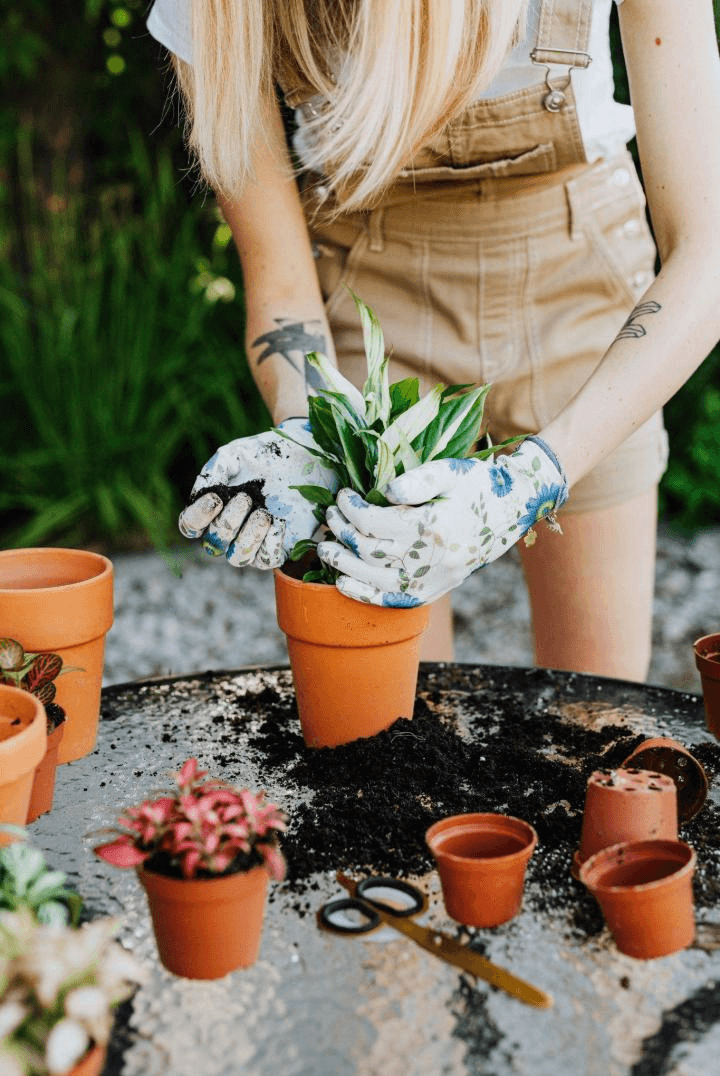
Now that the roots are uncurled we can add them into the pre-made hole in the bigger container. Gently place the roots into this hole and fill the top with potting soil—you should lightly press down on the top of the soil so that the plant stays in place, but don’t press so hard that we will damage the roots.
We can now take the plant to the sink, shower, or garden hose and gently water it. The slower the watering the better, as it gives the soil more time to soak up all the water. Usually, you can set it under a faucet and let the water drip over the soil, rotating the container until it's fully saturated.
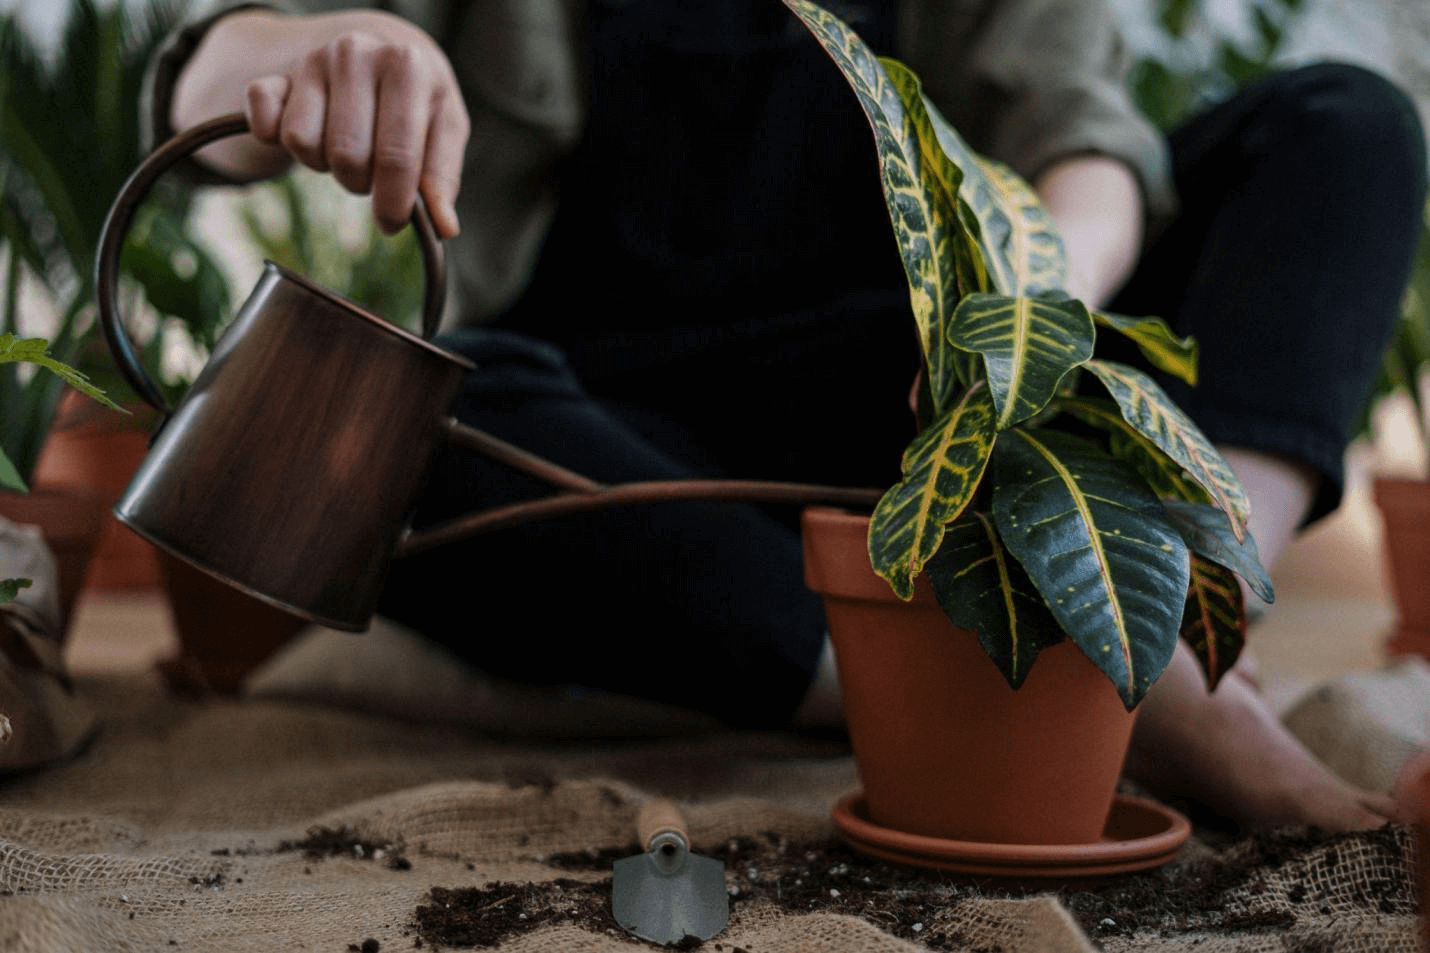
When the newly transplanted plant is fully watered we can put it beneath our grow light and let it start growing again. Watch the plant carefully at this stage: the plant should not be too droopy after transplanting. If it starts to wilt or look like it will die, then it is likely that the taproot was broken during the transplanting process.
Unfortunately, there isn’t much you can do to help your plant at this point but be sure that next time you are a bit more careful. Seedlings have a main root system called a taproot, and if this is damaged it can seriously harm the plant. On the other hand, a clone does not have this root system and is a little hardier when it comes to transplanting.
As always if you have any questions you can message our Instagram or Facebook and we’ll be glad to help you out! We’re happy you’re on this journey and we want to help in any way we can.