Table of Contents
When to transplant cannabis seedlings?
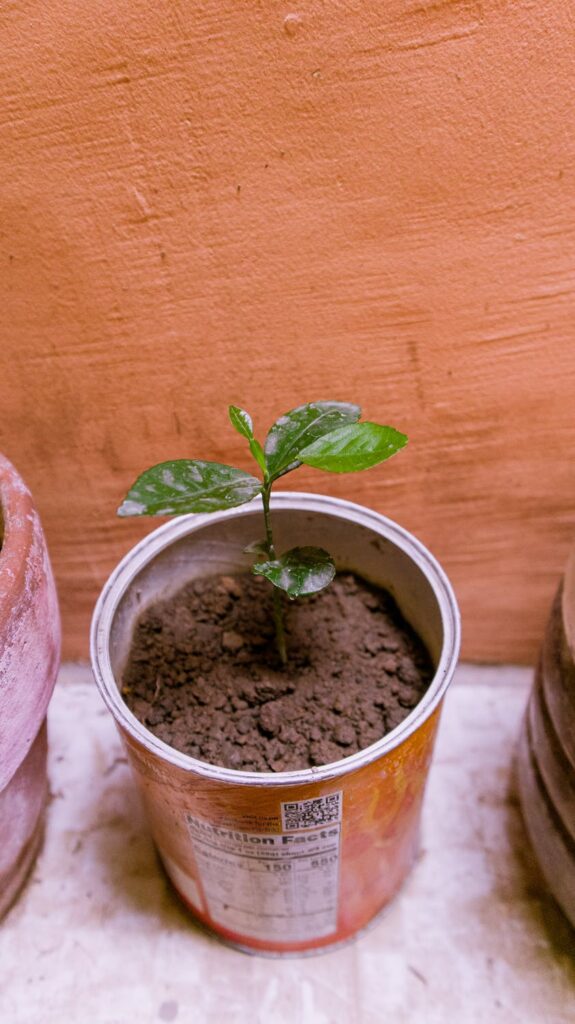
When you start raising seedlings, you’ll likely start by growing them in cups or small grow bags, this way they can grow faster during the early stages. They will start to sprout and grow under your careful care, and when cannabis seedlings are big enough that their leaves can touch the edge of the pot (or cup), you will need to transplant them into a larger pot.

To transplant cannabis seedlings is important, why?
First of all, why do we grow seedlings in small containers? There are two main reasons. One is that if you grow seedlings directly in the final large pots (usually 5-gallon pots), you will need a lot of soil and other resources and you don’t know if the seedlings will even be successful. This would be a waste of resources—ultimately, it’s not worth it. As well, seedlings don’t require LEDs—just fluorescent or incandescent bulbs, so you’ll be moving your plants around a crowded grow space if you start them in larger pots.
On the other hand, it is more beneficial to grow seedlings in small containers. A small amount of growing medium will dry faster and your seedling roots will easily get more oxygen for faster growth. Of course, if you think transplanting is too difficult for you, it is also possible to plant directly into the large, final pots.
How do I transplant cannabis seedlings ?
A Fine question! We’ll break it down into steps.
Germinating seeds

Before transplanting, we need to learn how to germinate your seeds. There are a few methods to do this and we’ve outlined it in another article but we’ll go over it quickly here. We can put the seeds inside a folded damp paper towel. Put another paper towel between the plates to prevent it from drying out. Watch your seedlings and check on them at leastevery 12 hours until the seeds split open and thin white taproots grow. Keep them in a warm place (75-80°F) or use a seedling heat pad if your ambient temperature is not sufficient.
Growing in a cup
As mentioned earlier, germinated seeds will grow quickly in a plastic cup, and once the leaves hit the edge of the cup, it is ready to be transplanted or your plant will suffocate.
The first transplant
The first transplant should take place when the seedling has pulled out 4-5 sets of leaves. We need to keep the surroundings clean and hygienic, so wear gloves and sprinkle a little water on the leaves of the plants (please be careful not to get it in the soil).
Prepare a new pot with the right amount of soil. Be careful not to damage or touch the roots of your plants when moving your seedlings, or your plants may go into shock. Be careful and transplant the plants into new pots as soon as possible. Once transplanting is complete, provide your plants with ample water.
If your plant is unfortunate enough to shock during transplantation (communicated by drooping leaves, slow growth, etc.) you can use seaweed/kelp extract to help your cannabis recover.
Tips for Cannabis Sativa Seedling
Here are some tips for caring for Cannabis sativa seedlings:
– Use a seed starting mix or light potting soil to give seedling roots room to spread. Avoid heavy soils that will compress delicate roots.
– Keep seedlings warm, around 70-80°F. Cannabis grows best at higher temperatures. Consider using a heat mat.
– High humidity is important for seedlings. Keep humidity around 70% by covering seed trays or using a humidity dome.
– Give seedlings 18-24 hours of light per day with fluorescent or LED grow lights. Keep lights 2-4 inches above plants.
– Water carefully and avoid overwatering. Allow the soil to dry out slightly between waterings. Seedlings need less water than mature plants.
– Feed with a dilute cannabis-specific vegetative nutrient solution once seedlings develop their second set of true leaves. Start at 1/4 strength.
– Gently circulate air around seedlings to strengthen stems. Use a small fan or oscillating fan on low speed.
– Transplant into larger containers once roots show through drainage holes or plants become rootbound. Handle delicately when transplanting.
– Support tall, spindly stems by staking or using plant supports. This prevents breakage as plants grow.
– Inspect regularly for signs of pests or disease. Isolate and treat any affected seedlings immediately.
Focus on keeping seedlings warm, humid, lightly fed, and in a high light environment for healthy growth. Monitor closely and make adjustments as needed during this critical growth stage.
Additional transplanting
There are two situations in which you may need additional transplants. The first is when you have planned additional transplants, such as if you have moved the seedling to a veg-stage pot and then plan to move it again for flowering. You’ll need to transplant your plant into the final pot 1-2 weeks before flowering—you won’t want to disturb it while it’s blooming.
The second might be when you have moved to what you think is the final pot but for whatever reason (such as the plant’s roots being overcrowded, the plant growing larger than you thought, etc.), you may need to put it into a new pot. Please choose a new pot that is twice the size of the old pot.
After transplanting into the final pot, you can wait for your plant to bloom. Note that plants may grow to 1-3 times their original size by the end of flowering.
Wrap-up: how to transplant cannabis seedlings
When starting seedlings, there are two main options – planting them in a small container or directly into a large pot. The choice comes down to personal preference and growing style. Planting seedlings in large pots runs the risk of overwatering or underwatering since the soil takes longer to dry out. However, with careful monitoring, starting in a large pot can be done successfully, though initial growth may be slower.
Using a small cup or container allows seedlings to grow rapidly, but transplanting into progressively larger pots is necessary over time. As long as the plants are cared for properly through regular watering, adequate lighting, and nutrients, seedlings can thrive in either starting method. While starting small accelerates growth, some gardeners opt for the simplicity of a single large pot from seed to harvest. Either approach can produce healthy plants in capable hands. Ultimately, the grower must decide which technique best suits their needs and growing capabilities.
_______________________________________________________________________________________________________________
If you have any questions, please don’t hesitate to reach out to us!
And be sure to check out our other blog posts for useful tips on becoming a great grower!
Subscribe to the Vivosun newsletter for growing tips, grower stories, and special offers, and get 10% off your first order!
We love the new Vivosun Smart Grow System and we are certain that you too will love it once you try it.
And join our Facebook farmer’s community for even more exclusive contests and prizes!
Download Vivosun App to get 15% off and explore more information!


