LED grow lights have become a lot more popular in recent years because of their low cost and how easy they are to use. They are great tools for making the growing process more efficient and maximizing yield. However, we all know how difficult it can be to keep your plants healthy throughout the growing cycle and even minor changes in the environment can have an impact. That’s why we are putting together this post—we want you to have full confidence when using your lights!
Here is a list of 8 mistakes to avoid when using your LED Grow Lights, these tips are extremely important key points for all beginners. Be careful to avoid these mistakes when using LED grow lights! We hope these tips will help you grow healthier plants and avoid any unnecessary inconveniences! Let’s get started.
Keeping the Right Distance Between Your Lights and Your Plants
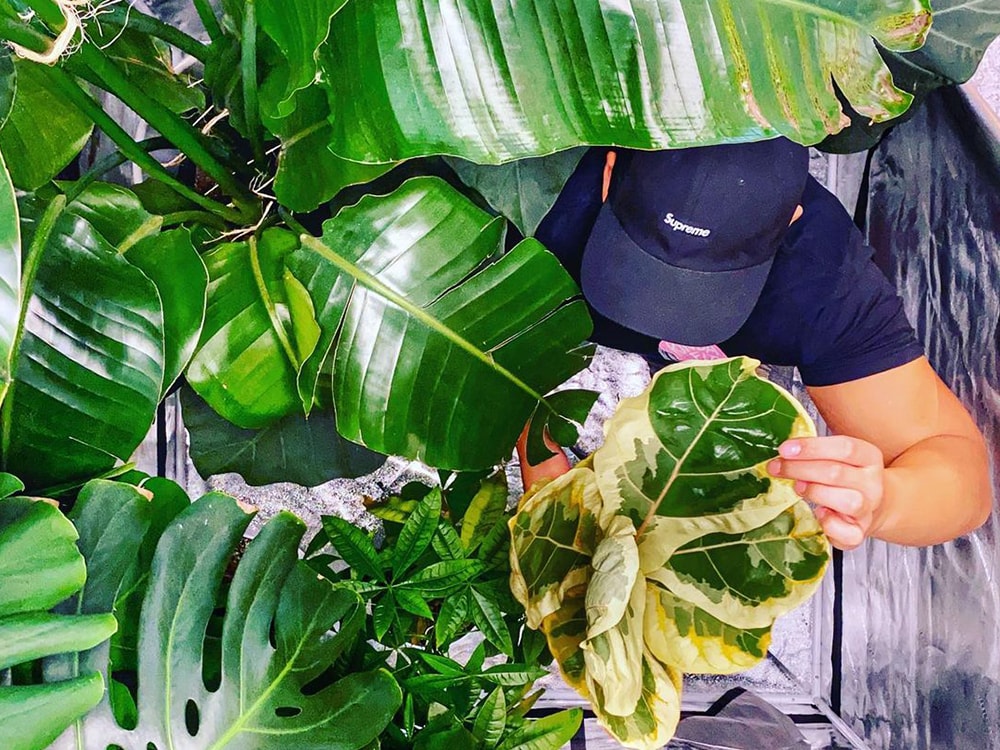
Before you begin growing, you need to consider the distance between your light and your plants. If the light is too close to your plant, it may get too hot and can damage your plant. If your plant’s leaves start to turn yellow or brown or are starting to curl up, your light may be too close to your plant and may be burning your plant! (Although there are other reasons that curling and browning might happen, those are for other articles!)
You have to avoid the mistake when using LED grow lights. If your grow space is too hot, try using a ventilation system to decrease the temperature in addition to hanging your lights a bit higher.
On the other hand, If you hang your LEDs too far away from your plants, their bodies (the stalks, stem, and branches) might become distended and elongated, what is called “stretching” as the plant tries to reach up to the light. Additionally, you won’t be getting great canopy penetration if your light is too high.
Then again, this depends on how many* plants you have (the more plants, the higher you’ll want to hang your lights so that you can get enough light spread) and how much wattage/power conversion your lamps can put out (high-wattage lights can be hung a bit higher because they don’t lose as much energy over distance).
The question can be a bit complicated, so we’ve put together an entire article on this topic specifically, just click these words to go to the article! For quick reference, 12 to 18 inches is a reliable distance between your lamps and your plants—you’ll get good canopy penetration and probably won’t burn your plants (luckily, LEDs don’t produce much heat so the risk of heat burning is lower).
Insufficient Light Supply
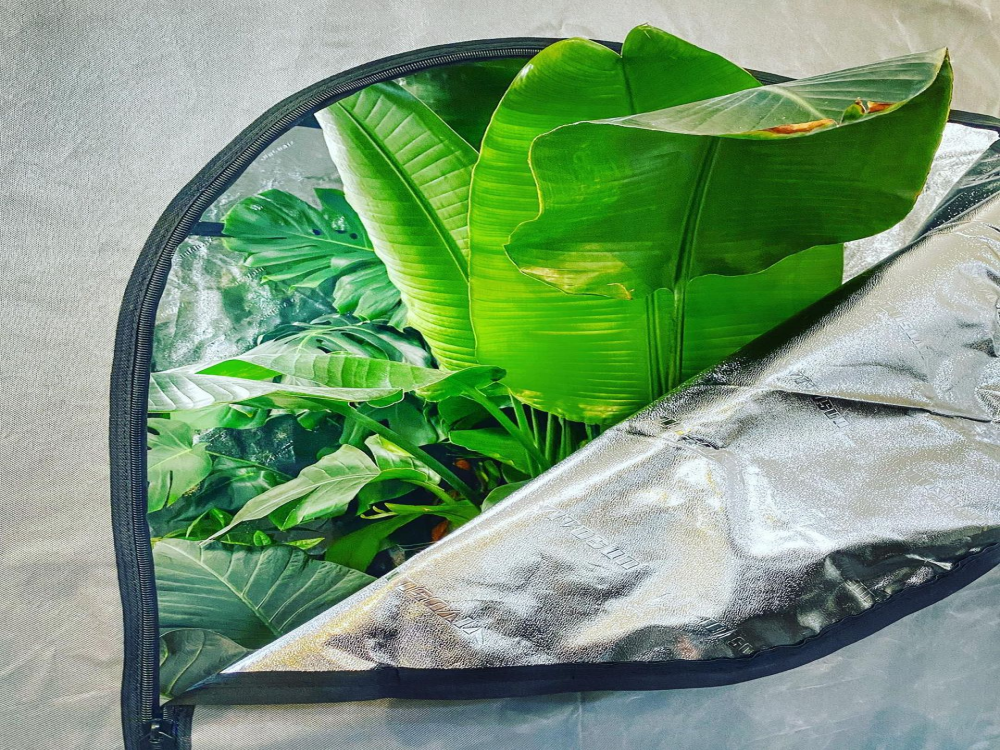
Before you start growing you should find your grow room floor’s surface area. This will help you figure out the number of plants that you can grow within the area and the number of LED grow lights/wattage you will need as well. We’ve made a quick chart to show the floor area of each of our tents:
| Tent Dimensions (L x W x H) | Floor Surface Area |
|---|---|
| 30” x 18” x 36” | 540 sq. inches |
| 24” x 24” x 36” | 576 sq. inches |
| 36” x 20” x 63” | 720 sq. inches |
| 32” x 32” x 63” | 1,024 sq. inches |
| 36” x 36” x 72” | 1,296 sq. inches |
| 48” x 24” x 60” | 1,152 sq. inches |
| 48” x 48” x 80” | 2,304 sq. inches |
| 60” x 32” x 80” | 1,920 sq. inches |
| 60” x 60” x 80” | 3,600 sq. inches |
| 96” x 48” x 80” | 4,608 sq. inches |
| 96” x 96” x 80” | 9,216 sq. inches |
| 120” x 60” x 80” | 7,200 sq. inches |
| 2-in-1: large section: 24” x 24” x 53”, small section: 12” x 24” x 53” | Large section: 576 sq. inches, small section: 288 sq. inches |
| 2-in-1: large section: 36” x 36” x 72”, small section: 12” x 36” x 72” | Large section: 1,296 sq. inches, small section: 432 sq. inches |
| 2-in-1: large section: 48” x 48” x 80”, small section: 12” x 48” x 80” | Large section: 2,304 sq. inches, small section: 576 sq. inches |
| 2-in-1: large section: 96” x 48” x 80”, small section: 12” x 48” x 80” | Large section: 4,608 sq. inches, small section: 576 sq. inches |
| Take the surface area of the floor and make sure that your light is able to cover that space. We don’t include the light size in this chart because the light really depends on your growing goals—how many plants you have, if you plan to upgrade your tent size, or your budget, for example. But just for your reference, we include a reference chart to match our LED with tent sizes (how many you’ll need for coverage). | ### **Using Low-Quality Products ** |
What really is the difference between high-quality and low-quality equipment? You’ll find that higher quality lighting has a better wattage to usable plant energy conversion, the light spectrum can be adjusted to be more focused to a full spectrum, they last longer, they have a better PAR value, and you’ll get better yields.
It can be hard to tell which product is high quality and which is not, so getting recommendations from other growers can be really helpful. The growing community is very diverse and has a ton of experience, so don’t be afraid to ask!
**Not Having a Proper Light Schedule **
Your lighting schedule is another key factor that helps determine a plant’s health. Be careful not to leave the lights on all day—you’ll need to keep a day-night cycle to allow your plants to rest. Each individual strain has a preferred growing cycle (along with nutrients, light height, and everything else that goes into growing), but in general, you can reference the chart below for a quick guide to lighting schedules:
Stage of Growth Day/Night Cycle
Germination 18 hours on/ 6 hours off
Seedling 18 hours on/ 6 hours off
Vegetation 18 hours on/ 6 hours off
Flowering 10-12hours on/10-12hours off
You’ll need to emphasize different parts of the light spectrum during different stages of growth to encourage your plants to produce the best buds and strongest structures. Just remember that red-spectrum light helps with flowering, and blue-spectrum light helps with vegetation.
That said, LEDs produce the full spectrum of light—you cannot go wrong by producing the same light that the Sun produces! Just be careful if you decide to use an MH or an HPS bulb since they do not produce as much red and blue light, respectively.
Lack of Maintenance of the Grow Lights
LED grow lights are generally lower maintenance than HPS or CMH/MH bulbs. However, you’ll need to make sure that your lights are well maintained: clean them with a dry microfiber cloth occasionally, make sure they don’t get wet, and use a power stabilizer to stabilize the voltage of your lights, otherwise, you might experience power failures. That said, they are much easier to maintain than other types of lights.
Overwatering when Moving from HID to LED
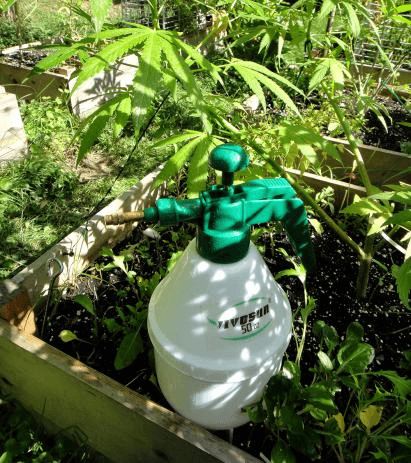
If you’ve been using HID lights (HPS and MH/CMH, among others), you probably will have a different watering schedule than when using an LED light. Why? Because LEDs do not produce as much heat as HID lights so the ambient heat won’t be drying out your soil as quickly. Make sure that you pay close attention to watering when first switching from HID to LED. You can use a sprayer to water your plants. Overwatering is actually a bigger problem than underwatering with new growers.
Ignoring Some Other Factors that Can Affect Your Grow Light
While LED grows lights are a great tool for indoor gardening, they are part of a larger system that needs to be controlled, such as airflow and ventilation, temperature, watering, soil and pH, nutrients, and a ton of other factors that we cannot go into in one blog post. Since there are so many different factors that go into growing, you’ll need to pay close attention to your tent—make sure you take measurements every day, keep a journal of your watering schedule and your feedings, and take consistent pH readings.
Also, be sure to read up on cannabis and check out multiple sources of information since there is no right way to grow it. Measurements and reading are the keys to making sure your plants turn out healthy!
**Other common questions **
How far should led grow lights be from plants?
The optimal distance for LED grow lights from plants depends on a few factors: Light Intensity (PPFD)
- Seedlings/Clones: 150-300 μmol/m2/s PPFD - Keep lights 24-36 inches away
- Vegetative Stage: 300-600 μmol/m2/s PPFD - Keep lights 18-30 inches away
- Flowering Stage: 600-1000 μmol/m2/s PPFD - Keep lights 12-24 inches away
PPFD (Photosynthetic Photon Flux Density) measures the number of photons in the photosynthetically active radiation (PAR) range that land on a square meter every second. Higher PPFD values indicate more intense light.
A study by Snowden et al. (2016) found that lettuce grown under red/blue LEDs at 300 μmol/m2/s from 12 inches had significantly reduced biomass compared to plants grown at 18 inches. Nelson and Bugbee (2014) showed that positioning LEDs too close (<12 inches) to wheat at 800 μmol/m2/s caused light bleaching of the leaves and reduced yield.
For high PPFD LED lights over 1000 μmol/m2/s, commercial advice is to maintain a distance of 24-36 inches to prevent light burn (e.g. California LightWorks). Spacing also depends on the LED beam angle/optics which spreads the light intensity over distance. Following manufacturer guidelines provides safe starting distances.
How do I know if my grow light is too close?
Here are some scientific signs that your grow light may be too close to your plants:
Leaf Temperature
- One indicator is monitoring leaf temperature. A study by Pettersen et al. (2010) found that when LED lights were too close (<8 inches) to leaves, their temperature exceeded 30°C which caused damage.
- The ideal leaf temperature for most plants is 20-28°C. Using an infrared thermometer, if leaf temps exceed 30°C, the lights are likely too close.
Chlorophyll Fluorescence
- Plants exposed to excessive light stress exhibit reduced chlorophyll fluorescence. Chlorophyll fluorometers measure the efficiency of photosystem II which decreases under high light stress.
- Bakker et al. (2021) found chlorophyll fluorescence in tomato leaves declined by 15-20% when LEDs were closer than 12 inches at 500 μmol/m2/s.
- A drop in Fv/Fm chlorophyll fluorescence ratio below 0.8 indicates the light is too intense for that stage of growth.
Visual Signs
- Bleaching or chlorosis (yellowing) of upper leaves is often the first visual sign of excessive light exposure.
- Stunted growth, leathery brittle leaves, and leaf necrosis can also occur if lights remain too close.
- For flowering plants, light burn may appear as bleached pistils and deformed buds.
By monitoring leaf temperature, chlorophyll fluorescence, and closely inspecting for visual symptoms, you can determine if your LED grow lights need to be raised to a more optimal distance from your plants.
How long should plants be under LED grow lights?
Here are some scientifically recommended daily light exposure times for plants under LED grow lights:
Seedlings/Clones
- 16-18 hours per day is ideal for most seedlings/clones (Singh et al. 2015)
- Allowing 6-8 hours of darkness helps prevent etiolation and physiological disorders
Vegetative Stage
- 18-24 hours per day is common during the vegetative growth stage (Bantis et al. 2018)
- Longer days promote more vigorous vegetative growth
- Some growers do 24 hour continuous light, while others prefer an 18/6 or 20/4 light/dark cycle
Flowering Stage
- 12 hours of light and 12 hours of uninterrupted darkness is standard (Vanhove et al. 2021)
- This 12/12 light cycle induces flowering in photoperiod crops like cannabis, tomatoes, etc.
- Some flowers like African violets prefer only 8-10 hours of daily light
The specific light period can vary slightly by plant species and variety. For example, a study by Ghazi et al. (2020) found maximum yields for lettuce at 20 hours per day under LEDs.
Can plants burn from LED grow lights?
Yes, plants can definitely get burned or damaged from LED grow lights if the lights are too intense or positioned too close to the plants. Here are some scientific details on how LED light burn can occur:
Light Intensity
- LED lights, especially newer models, can produce very high light intensities measured in PPFD (μmol/m2/s). Values over 1000 PPFD can cause light bleaching and burn.
- A study by Rud et al. (2020) found leaf burn occurred on lettuce at 700 μmol/m2/s PPFD from LEDs at very close distances (<6 inches).
Heat Stress
- While LED lights run much cooler than HID lamps, they can still produce heat that builds up around the leaf surfaces when positioned too close.
- Wolff et al. (2021) demonstrated that LED arrays causing leaf temperatures over 30°C resulted in damage to photosynthetic proteins in multiple species.
Excessive Radiant Exposure
- The cumulative radiant exposure, not just intensity, can induce light stress and metabolic damage over time.
- Research by Ommen et al. (1999) showed development of chlorotic spots on leaf surfaces exposed to high radiations levels from LEDs over weeks.
Symptoms of LED light burn include:
- Leaf bleaching/chlorosis
- Leaf necrosis/dead patches
- Stunted growth
- Abnormalities in flowers/buds
Preventing burn involves proper light spacing based on intensity, utilizing cooling fans, and gradually acclimatizing plants to higher light levels. LED manufacturers provide safe distance guidelines.
Sum Up
LED grow lights are an essential tool for indoor growing but not the only tool! We hope these tips help you start organizing and planning your grow because it is very important you pay careful attention when growing and adopting new technology. Make sure to avoid the mistake when using LED grow lights.
If you have any questions, please don’t hesitate to reach out to us!
And be sure to check out our other blog posts for useful tips on becoming a great grower!