
Choosing a Good Seed
Choosing good quality seeds is crucial for successful germination and healthy plant growth. High-quality seeds are typically more viable, meaning they have a higher likelihood of sprouting and developing into strong plants. They are usually free from diseases, pests, and genetic defects, which can significantly impact germination rates and seedling health.
Quality seeds often come with better genetic traits, such as disease resistance and higher yield potential. Starting with good quality seeds increases the chances of a successful, healthy, and productive plant.
Characteristics of Good Seeds:
- Mature and Dark-Colored: Look for seeds that are dark in color and have a hard shell, indicating maturity and viability.
- Test Viability: Soak seeds in water, viable seeds will sink.
- Avoid Bad Seeds: Discard immature, green, or damaged seeds as they are unlikely to germinate successfully.

Ideal Environment for Germination
- Temperature: Maintain between 70-85°F to optimize the germination process.
- Humidity: Ensure high humidity levels of 65-85% to keep seeds moist and promote germination.
Tips and Tricks for Successful Germination
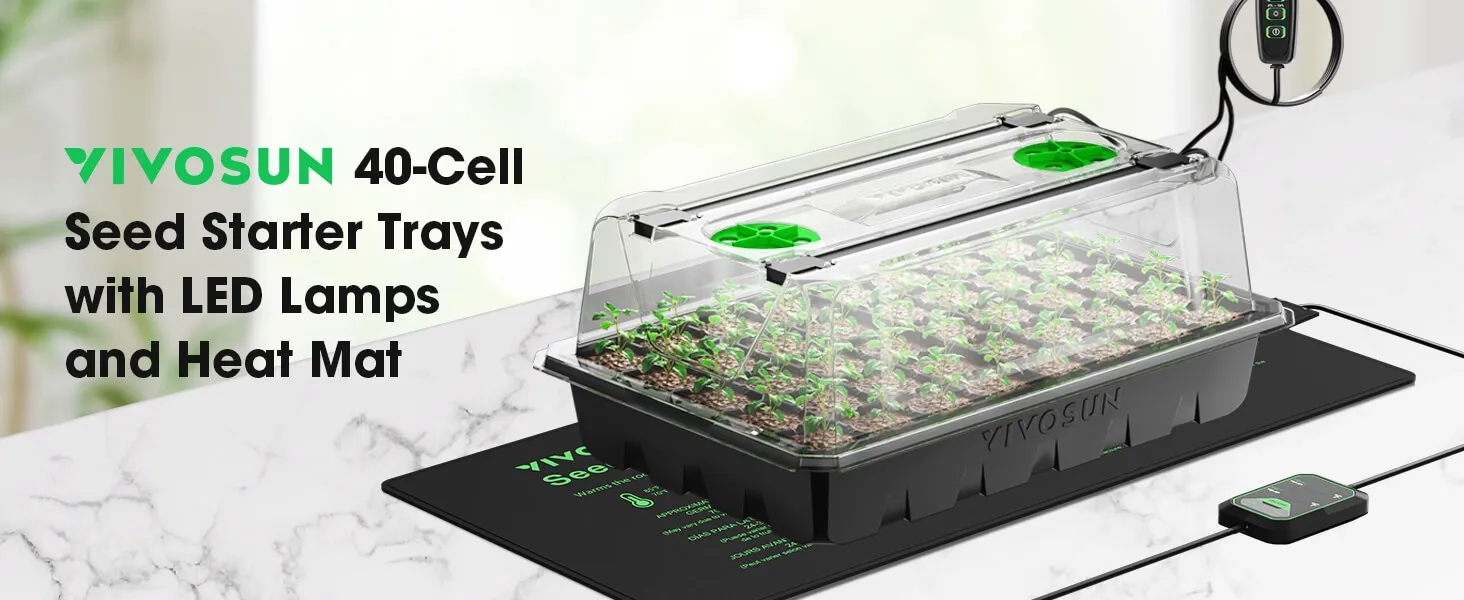
Many seeds require darkness to initiate germination, mimicking the natural conditions they would encounter in soil. Darkness helps regulate the hormonal changes necessary for germination, signaling the seed to break dormancy and start the process. Therefore, it’s important to place seeds in darkness to enhance germination when using the paper towel or water germination methods. Keep them in a warm, dark place (65°F to 75°F / 18°C to 24°C) and check regularly for roots and shoots, ensuring the environment stays moist but not waterlogged. Vivosun seed starter kit helps provide optimal conditions, significantly improving germination success.
Four Different Methods of Germination
-
Paper Towel Method:
Paper towel method involves placing seeds between damp paper towels to create a humid environment that encourages germination. Steps: a. Gather a few paper towels and a shallow container or plastic bag. b. Moisten the paper towels thoroughly but avoid soaking them; they should be damp, not dripping. c. Place the seeds on one half of the damp paper towel, then fold the other half over the seeds to cover them. d. Place the paper towel with seeds into the shallow container or plastic bag to retain moisture. e. Keep the container or bag in a warm, dark place, such as the top of a refrigerator or a cupboard. f. Check the seeds daily to ensure the paper towels remain moist. g. Once you observe tiny roots (radicles) and shoots emerging, the seeds are ready to be transplanted into soil.
-
Water Germination:
This method involves submerging seeds in water to initiate germination, particularly useful for seeds with hard shells. Steps: a. Fill a glass or bowl with lukewarm water. b. Place the seeds in the water, ensuring they are fully submerged. c. Leave the seeds in the water for 24-48 hours and change the water every 12 hours to keep it fresh. d. After soaking, seeds may start to swell and split, indicating the beginning of germination. e. Once you observe tiny roots (radicles) and shoots emerging, the seeds are ready to be transplanted into soil. Remove the seeds from the water and plant them immediately in soil once you observe tiny roots (radicles) and shoots emerging.
-
Directly Sowing:
Direct sowing method involves planting seeds directly into pots or garden beds at the appropriate depth, allowing them to germinate in their final growing location. Steps: a. Select a suitable location with adequate sunlight and prepare the soil by loosening it and adding compost if needed. b. Generally, the depth is about twice the size of the seed. Refer to the seed packet for the recommended planting depth and spacing. c. Make shallow holes or furrows in the soil at the specified depth. d. Place the seeds into the holes or furrows and cover them lightly with soil. e. Water the area gently but thoroughly to ensure the soil is moist. f. Keep the soil consistently moist but not waterlogged until the seeds germinate, usually within a few days to weeks, depending on the seed type.
-
Stratification:
Stratification method mimics natural winter conditions by exposing seeds to cold and moist environments to break dormancy and prompt germination. Steps: a. Place the seeds in a small cup or container and cover them with water. b. Refrigerate the seeds in the water for a specific period, typically overnight (about 12-24 hours), though some seeds may require several weeks of stratification. c. After the stratification period, remove the seeds from the refrigerator and water. d. Plant the seeds directly in soil or use another germination method like the paper towel method to further encourage sprouting. e. Ensure the planted seeds are kept in a suitable environment with adequate moisture and temperature conditions for continued growth.
What to Do with Old Seeds that are Difficult to Germinate
-
Scarification Method:
Lightly sand the seed coat to improve water absorption and boost germination rates. ** Steps for the Scarification Method:**
-
Gather Materials:
Seeds
-
Sandpaper
-
Prepare the Seeds:
Select seeds that you want to scarify. This method is particularly useful for seeds with hard coats.
-
Scarify the Seeds:
Lightly rub the seed coat with sandpaper. Focus on one area until you see a slight change in color, indicating that the hard outer layer is being worn down.
-
Be careful not to sand too deeply; you only need to thin the seed coat enough to allow water to penetrate.
-
Soak the Seeds:
After scarification, soak the seeds in water for 12-24 hours. This helps to further soften the seed coat and initiate the germination process.
-
Plant the Seeds:
Choose germination method base your own preference after scarification.
-
Keep the soil moist and maintain a warm environment to encourage germination.
-
**Hydrogen Peroxide Method:
**
Soak seeds in a diluted hydrogen peroxide solution to increase the germination rate.
Steps for Hydrogen Peroxide Method:
-
Gather Materials:
Seeds
-
Hydrogen peroxide (3% solution)
-
Water
-
Small container
-
Prepare the Solution:
Mix one part hydrogen peroxide with ten parts water in a small container. This creates a diluted solution that is safe for seeds.
-
Soak the Seeds: ○ Place the seeds in the hydrogen peroxide solution. ○ Let them soak for about 30 minutes to 1 hour. This soaking helps to kill any pathogens on the seed surface and can enhance germination.
-
Rinse the Seeds: ○ After soaking, remove the seeds from the solution and rinse them thoroughly with clean water to remove any residual hydrogen peroxide.
-
Plant the Seeds:
Choose germination method base your own preference after hydrogen peroxide treatment.
-
Ensure the soil is kept moist and maintain a warm environment to support germination.
By following these detailed steps, you can enhance the germination rates of old or hard-to-germinate seeds using the scarification or hydrogen peroxide methods.
How Long Should Germination Take?
● Seeds typically germinate within 3-10 days, depending on the method and seed quality.
How to Tell if Seeds Fail to Germinate
● Seeds that do not sprout within 10 days may be non-viable. ● Check for signs of mold or rot, which indicate poor seed quality or incorrect germination conditions.
Conclusion
Successful hemp germination begins with selecting high-quality, disease-free seeds. Choose a germination method—paper towel, water germination, direct sowing, or stratification—based on your preference. Maintain optimal conditions with the right temperature, humidity, and darkness to enhance germination rates. For old or hard-to-germinate hemp seeds, use scarification or hydrogen peroxide treatments. By following these steps, you can significantly improve the germination and growth of your hemp plants.